
FormRelay
HubSpot
See the installation steps to learn how to install our app and change the form name
Before you start
- A HubSpot account. A Service Key (recommended) can be created by any user with access to HubSpot's developer tools; the older private app route needs super admin access.
- Private apps are available on every HubSpot plan, including free.
Not OAuth. HubSpot's OAuth consent screen labels any unlisted app "unverified" and asks the customer to type "I accept the risk" before granting CRM access. FormRelay uses a private app access token instead, which reaches the same endpoints without that warning.
Step 1: Set Up HubSpot Integration
- In your App Dashboard, go to the Sites menu and click on your Authorized Webflow Site.
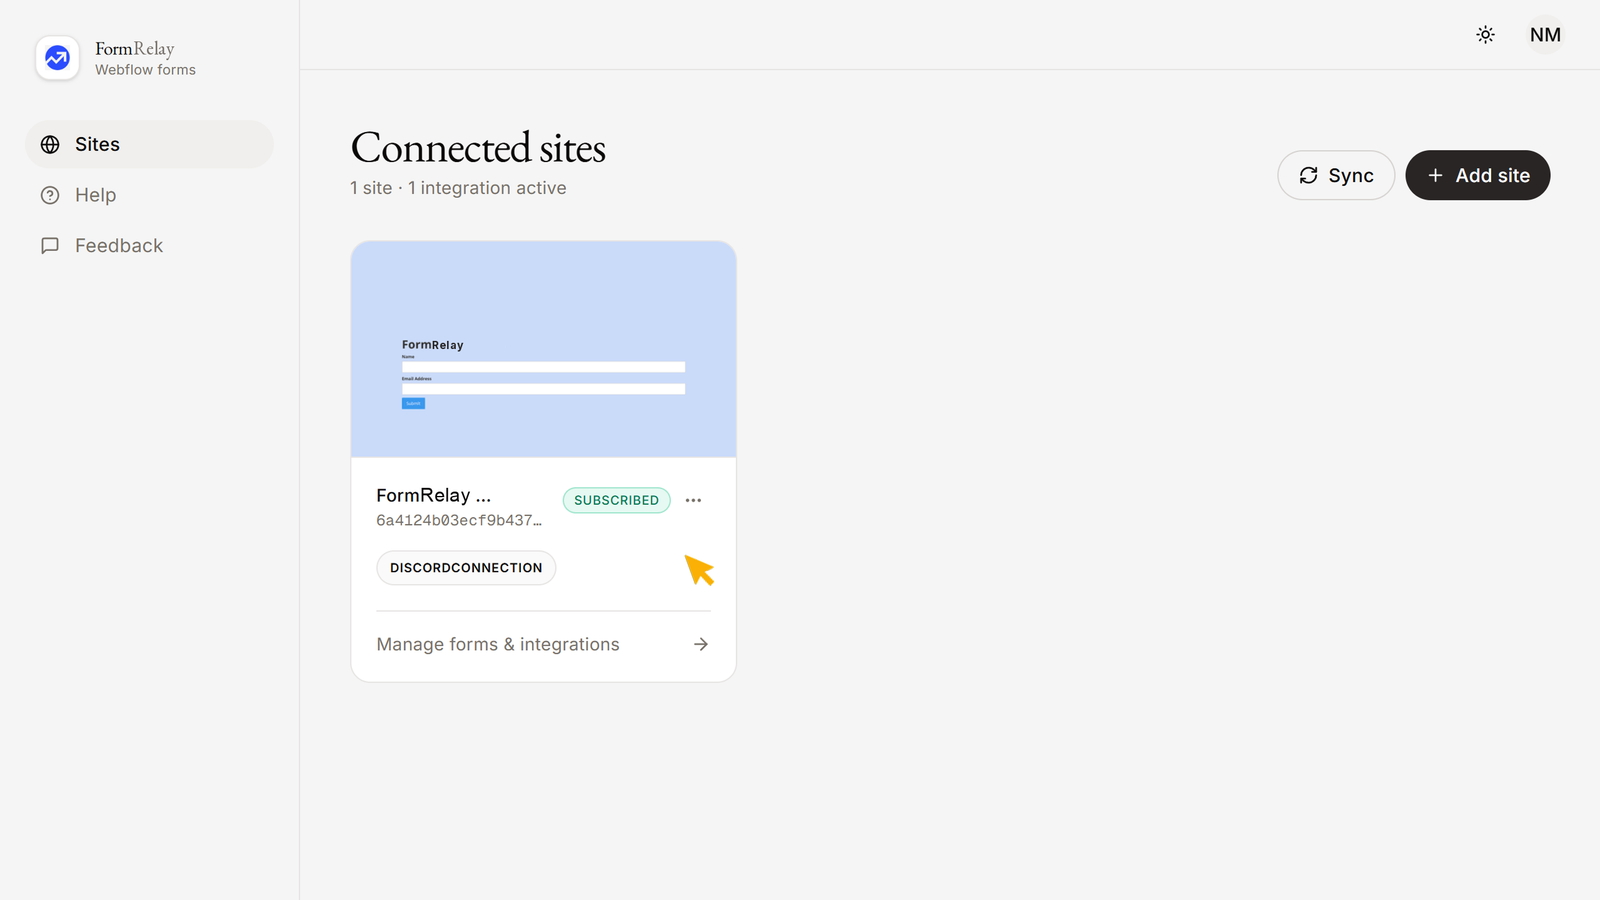
- Here you will see all your forms across the site.
- A form can send to several destinations, but only one of each kind. Adding a second HubSpot destination to the same form is not possible; edit the existing one instead.
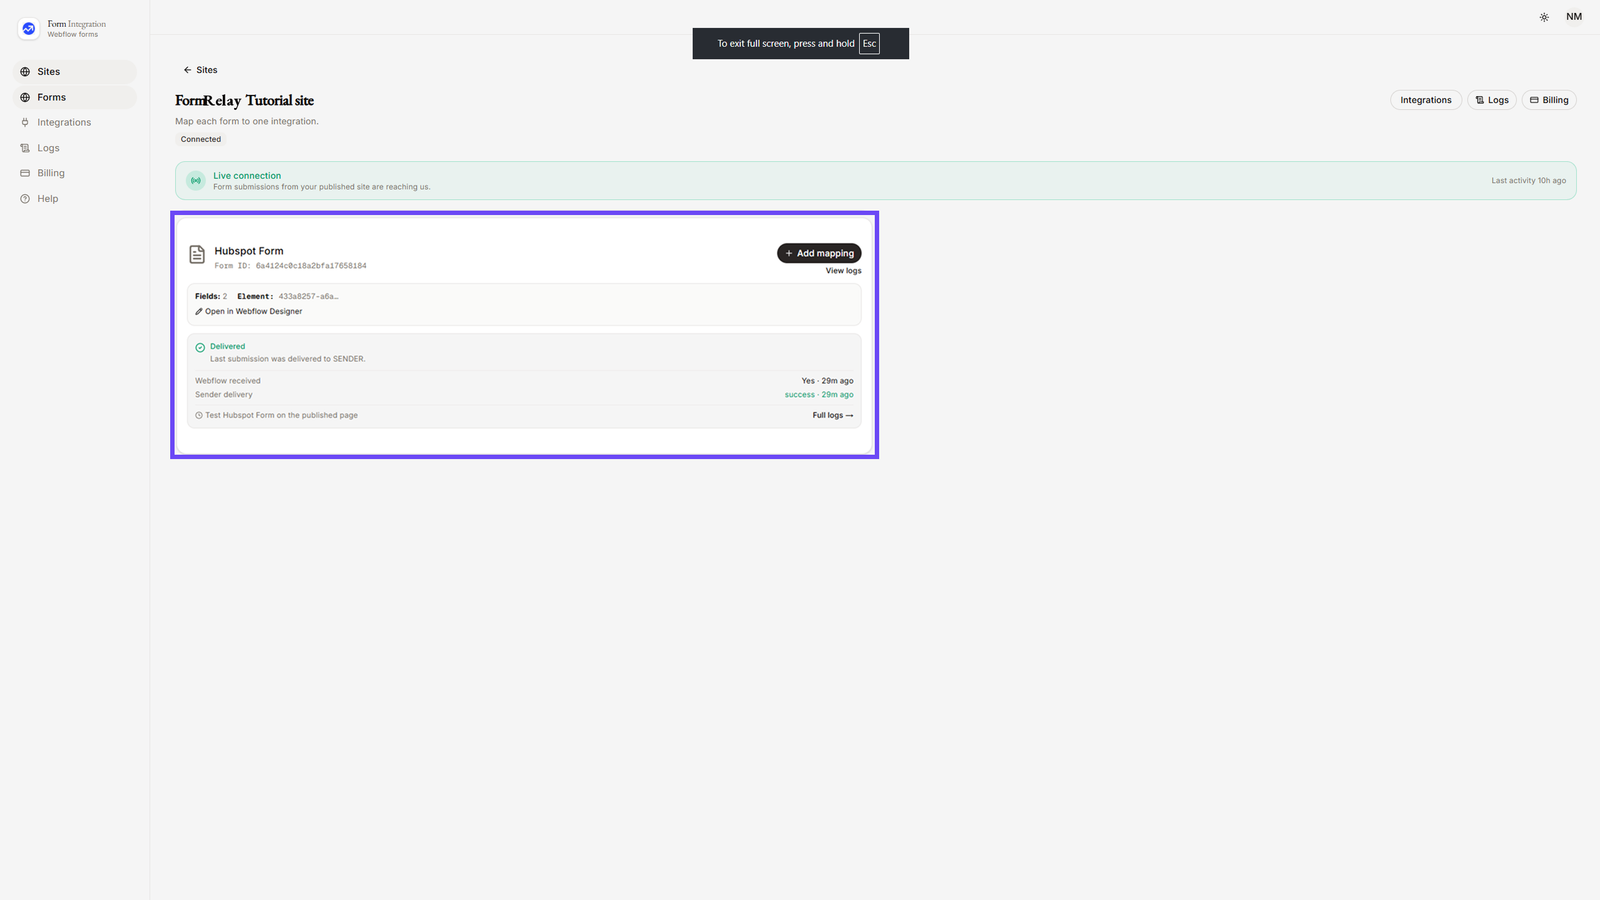
-
From the left-hand menu, click on Integrations. You will see available categories such as:
- Apps & Platforms (Notion, Slack, Discord, Airtable)
- Email & marketing (HubSpot, Mailchimp, Klaviyo, Brevo, MailerLite, EmailOctopus, Moosend, Omnisend, Sender)
- Automation & Webhooks (Webhook, Zapier, Make)
-
Under Email & marketing, click on HubSpot, then create a key in HubSpot to paste in.
HubSpot has two kinds of key that work here, and one that looks right but does not. Both working kinds begin with
pat-.Service Key — recommended. HubSpot's current path, and the one it points you to.
- Open Development → Keys → Service Keys, then Create service key.
- Name it and add exactly these scopes:
crm.objects.contacts.read,crm.objects.contacts.write,crm.schemas.contacts.read. Addcrm.lists.readandcrm.lists.writeonly if you want to add contacts to a specific list. - Click Create and copy the key.
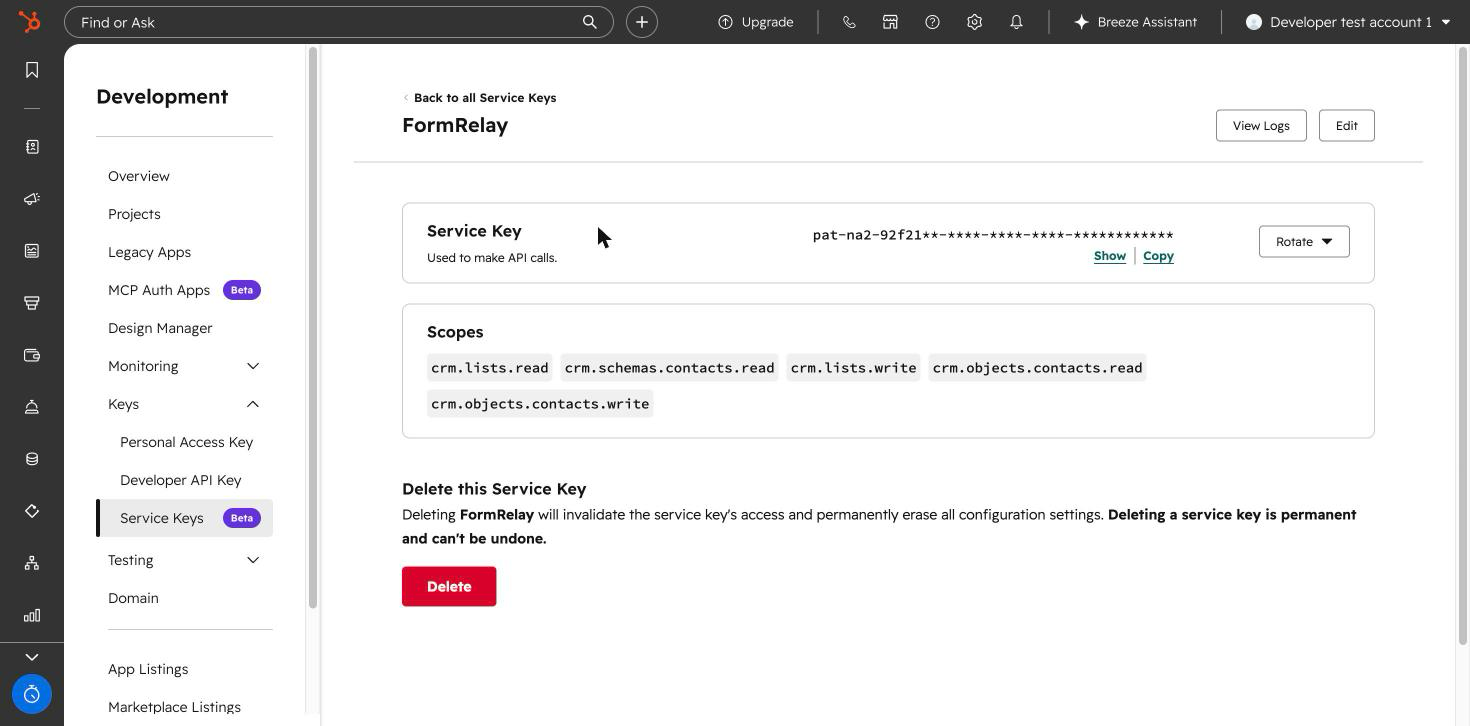
Service Keys are marked Beta. We have tested one end to end and it created a contact correctly, but a Beta feature can change.
Private app — the older path. Use this if you would rather not depend on a Beta feature. Requires super admin.
- Open Development → Legacy Apps, click Create legacy app, choose Private.
- Set the same scopes, create it, and copy the access token.
HubSpot warns that legacy private apps "won't receive new API scopes or features". It also moved them out of Settings, so Settings → Integrations → Private apps no longer exists.
Do not use the Personal Access Key. It sits directly above Service Keys in the same menu, carries the same CRM scopes, and looks like the obvious choice. It is for the HubSpot CLI and cannot call the CRM API. If your key does not begin with
pat-, it is this one, and FormRelay will refuse it.Back in FormRelay, name the connection, paste the key, and click Save. It then appears under CONNECTIONS, where you can edit or delete it.
Both kinds work on every HubSpot plan including free, and neither expires until you revoke it.
-
Go back to the Forms menu.
- Choose a Form from your authorized Webflow site.
- Click "+ Add destination".
- A popup will open with a dropdown for Integration → Pick an integration.
- Select your HubSpot integration from the dropdown.
- Configure Field Mapping by matching each field from your Webflow form to a column/property in your HubSpot CRM -> Contacts.
- Click Save when finished.
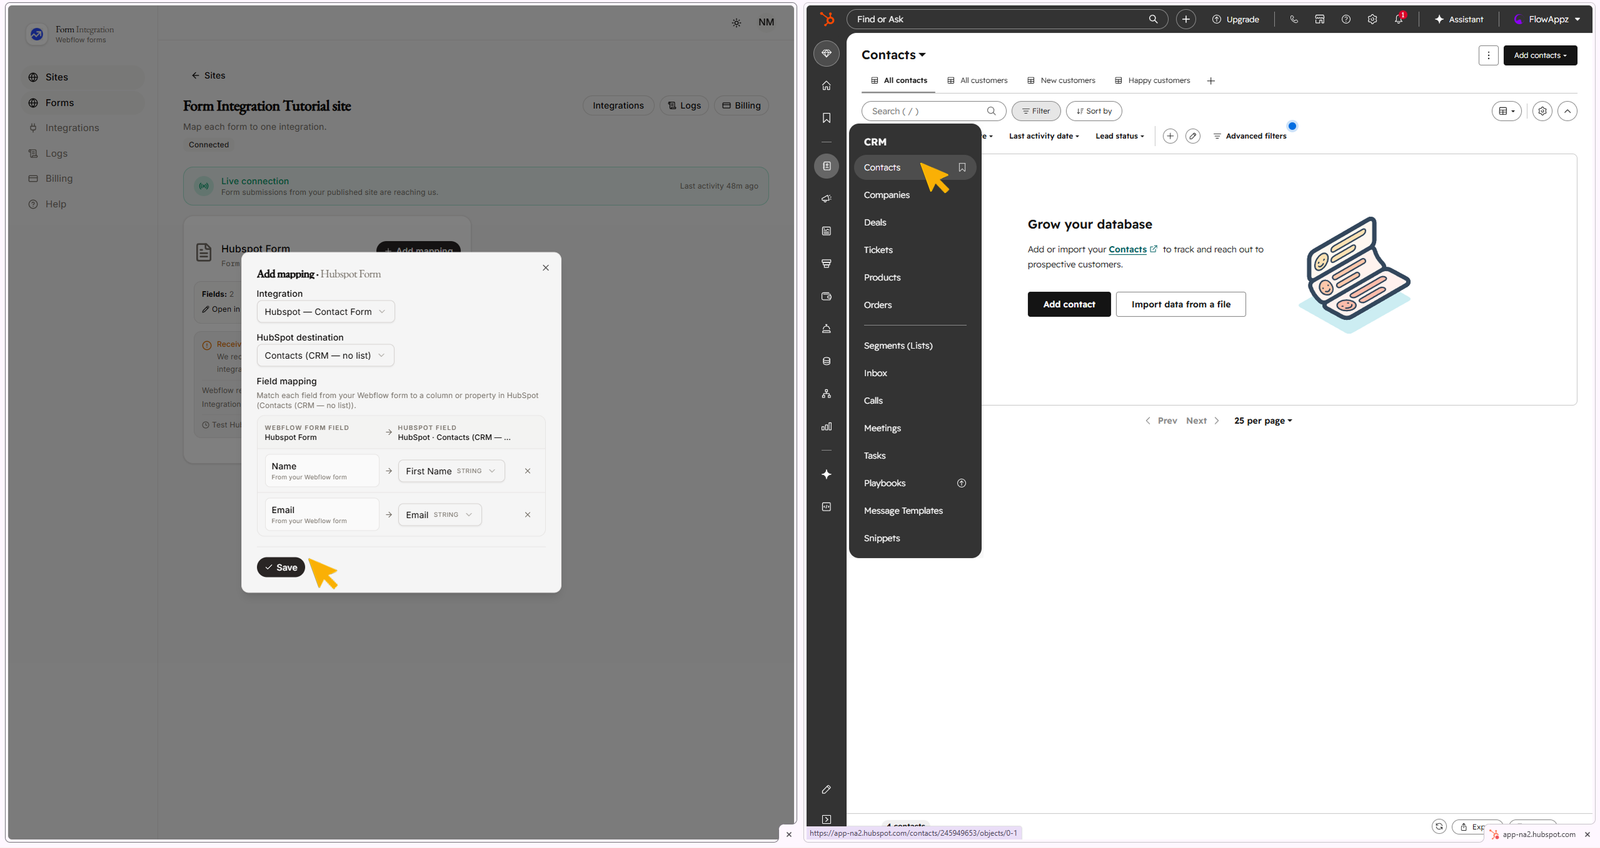
- Test the integration:
- Go to your published Webflow site.
- Fill out and submit the form.
- You will see the data appear in your HubSpot database within a few seconds.
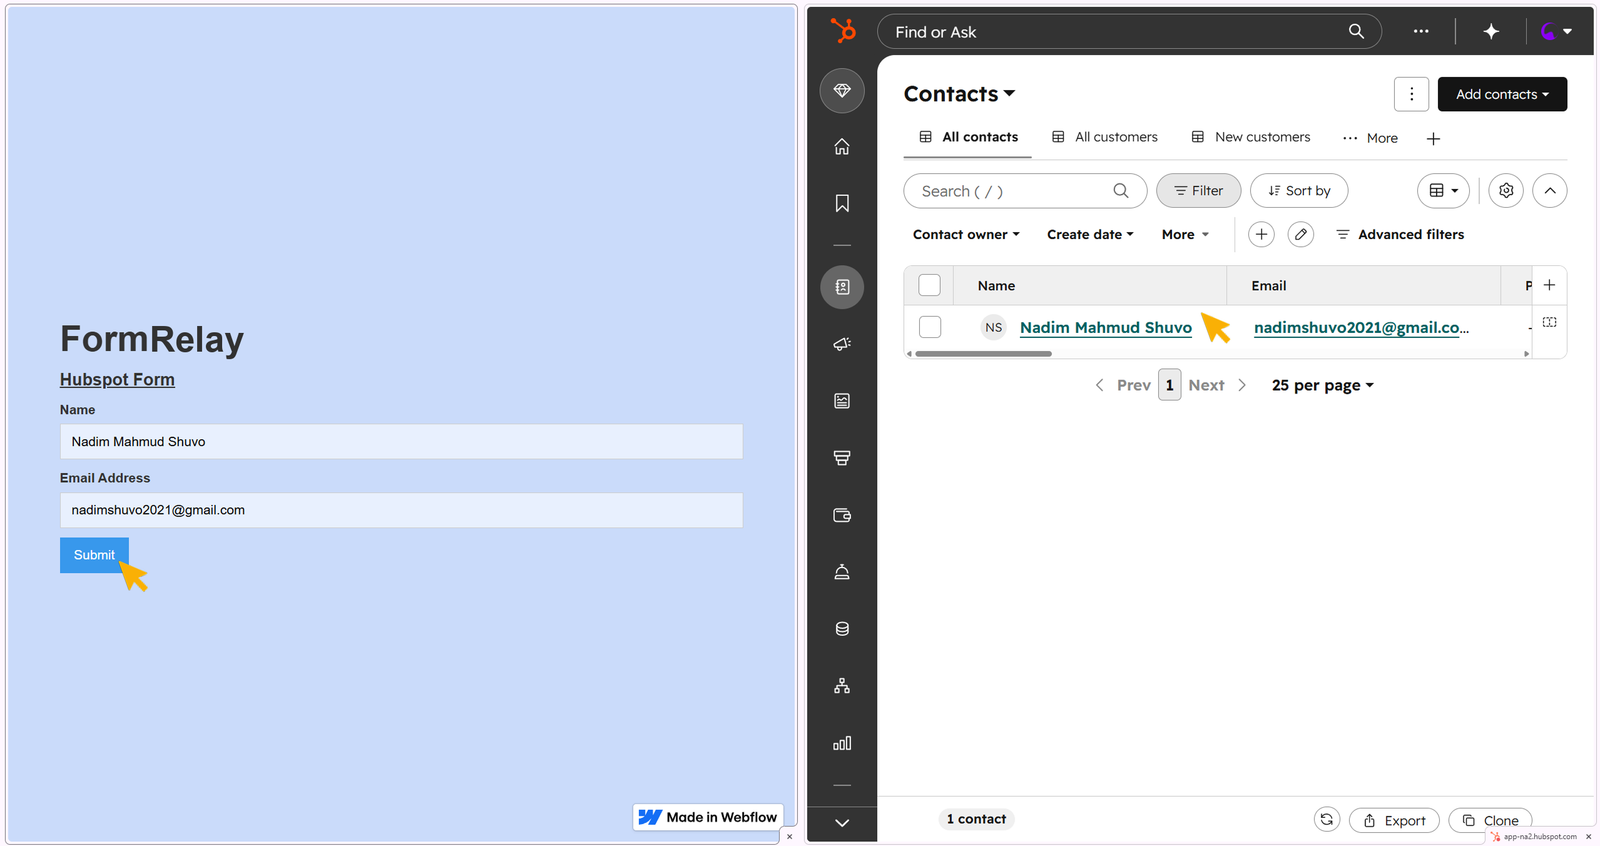
✅ Your HubSpot integration is now successfully set up and ready to sync form submissions.
Troubleshooting
| What you see | What it means |
|---|---|
Property values were not valid: … INVALID_EMAIL |
HubSpot rejected the submitted address. It validates the domain, so test submissions using made-up domains like .example are refused. |
| Only Contacts (CRM — no list) is offered as a destination | The key has no crm.lists.read / crm.lists.write scopes. That is fine if you only want contacts created; add those scopes to target a specific list. |
| No HubSpot fields to map, and the dropdown is empty | The saved token is not a private app token. A Personal Access Key from Development → Keys is the usual mix-up, and it sits directly above Service Keys in the same menu: it carries the right CRM scopes but cannot call the CRM API. Remove the connection and add it again with a token starting pat-. |
Still stuck?
Open the site's Logs page in FormRelay. Every attempt is recorded with the destination's own error message, and you can Replay a failed delivery once the cause is fixed. Delivery & Retries explains what the statuses mean.