
FormRelay
Installation Steps
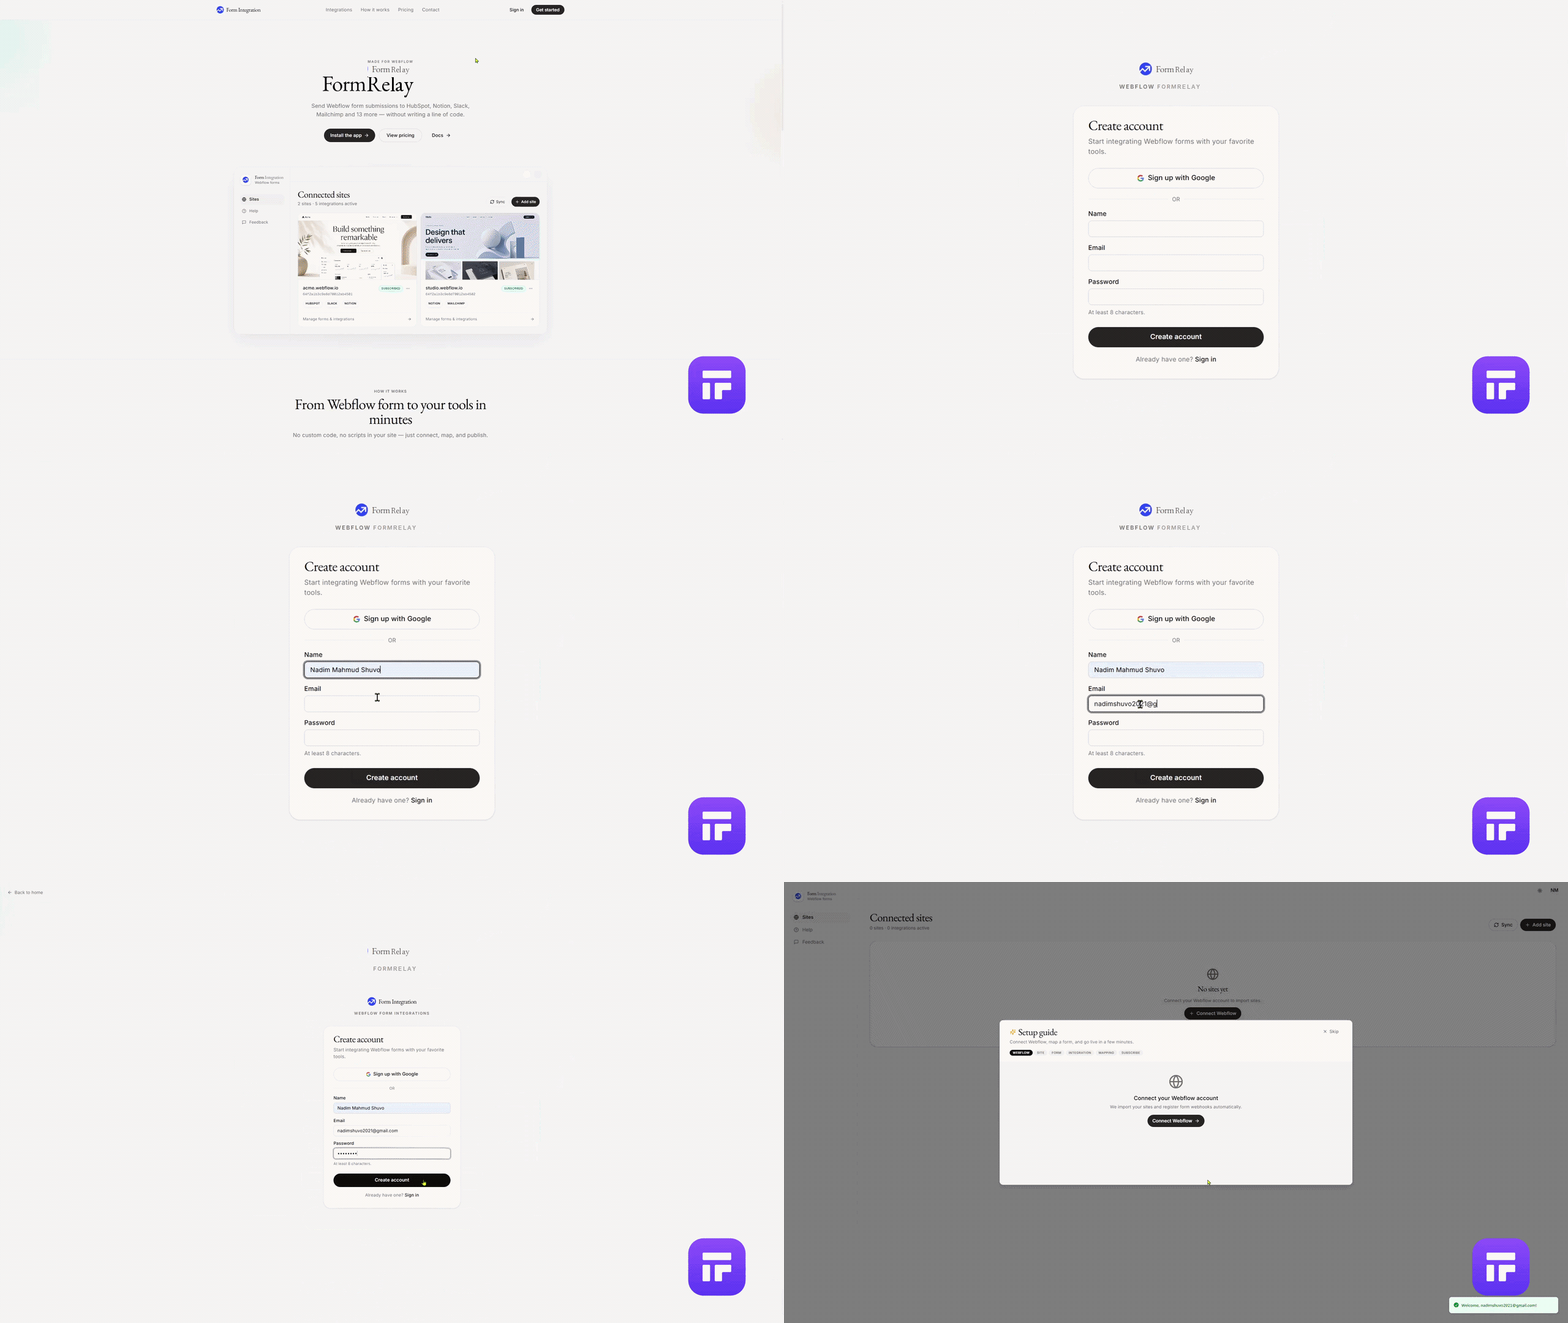
Step 1: Access the Web App Dashboard
- Open your preferred browser.
- Navigate to our official platform link: 🔗 https://formrelay.faizatech.com/
- If you are a new user, click Get started to register your account.
- If you already have an account, click Sign in to access your existing setup.
Step 2: Connect Your Webflow Site
- In your App Dashboard on Sites menu, click on "+ Connect Webflow".
- You will be redirected to the Webflow login page:
- If you already have a Webflow account, sign in.
- If you don’t have an account, sign up for free.
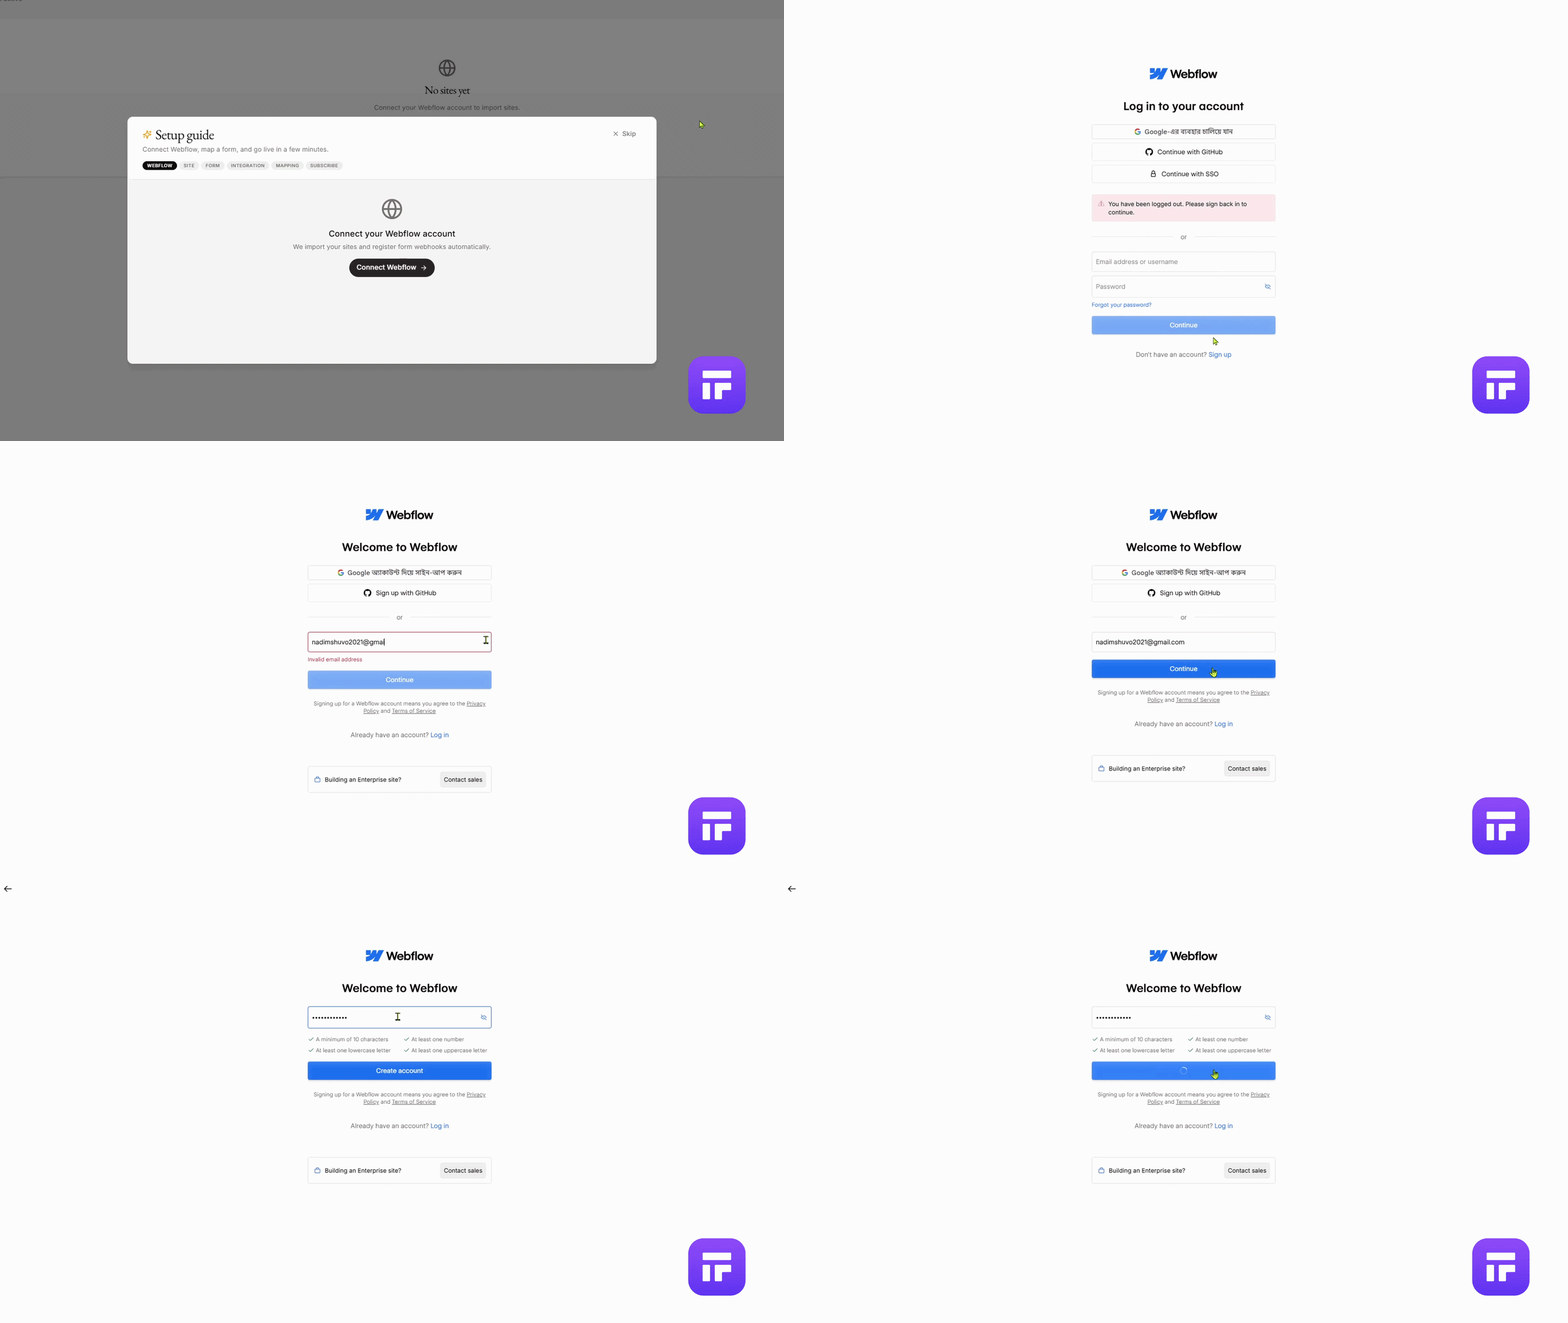
- After signing in, create a new site in Webflow.
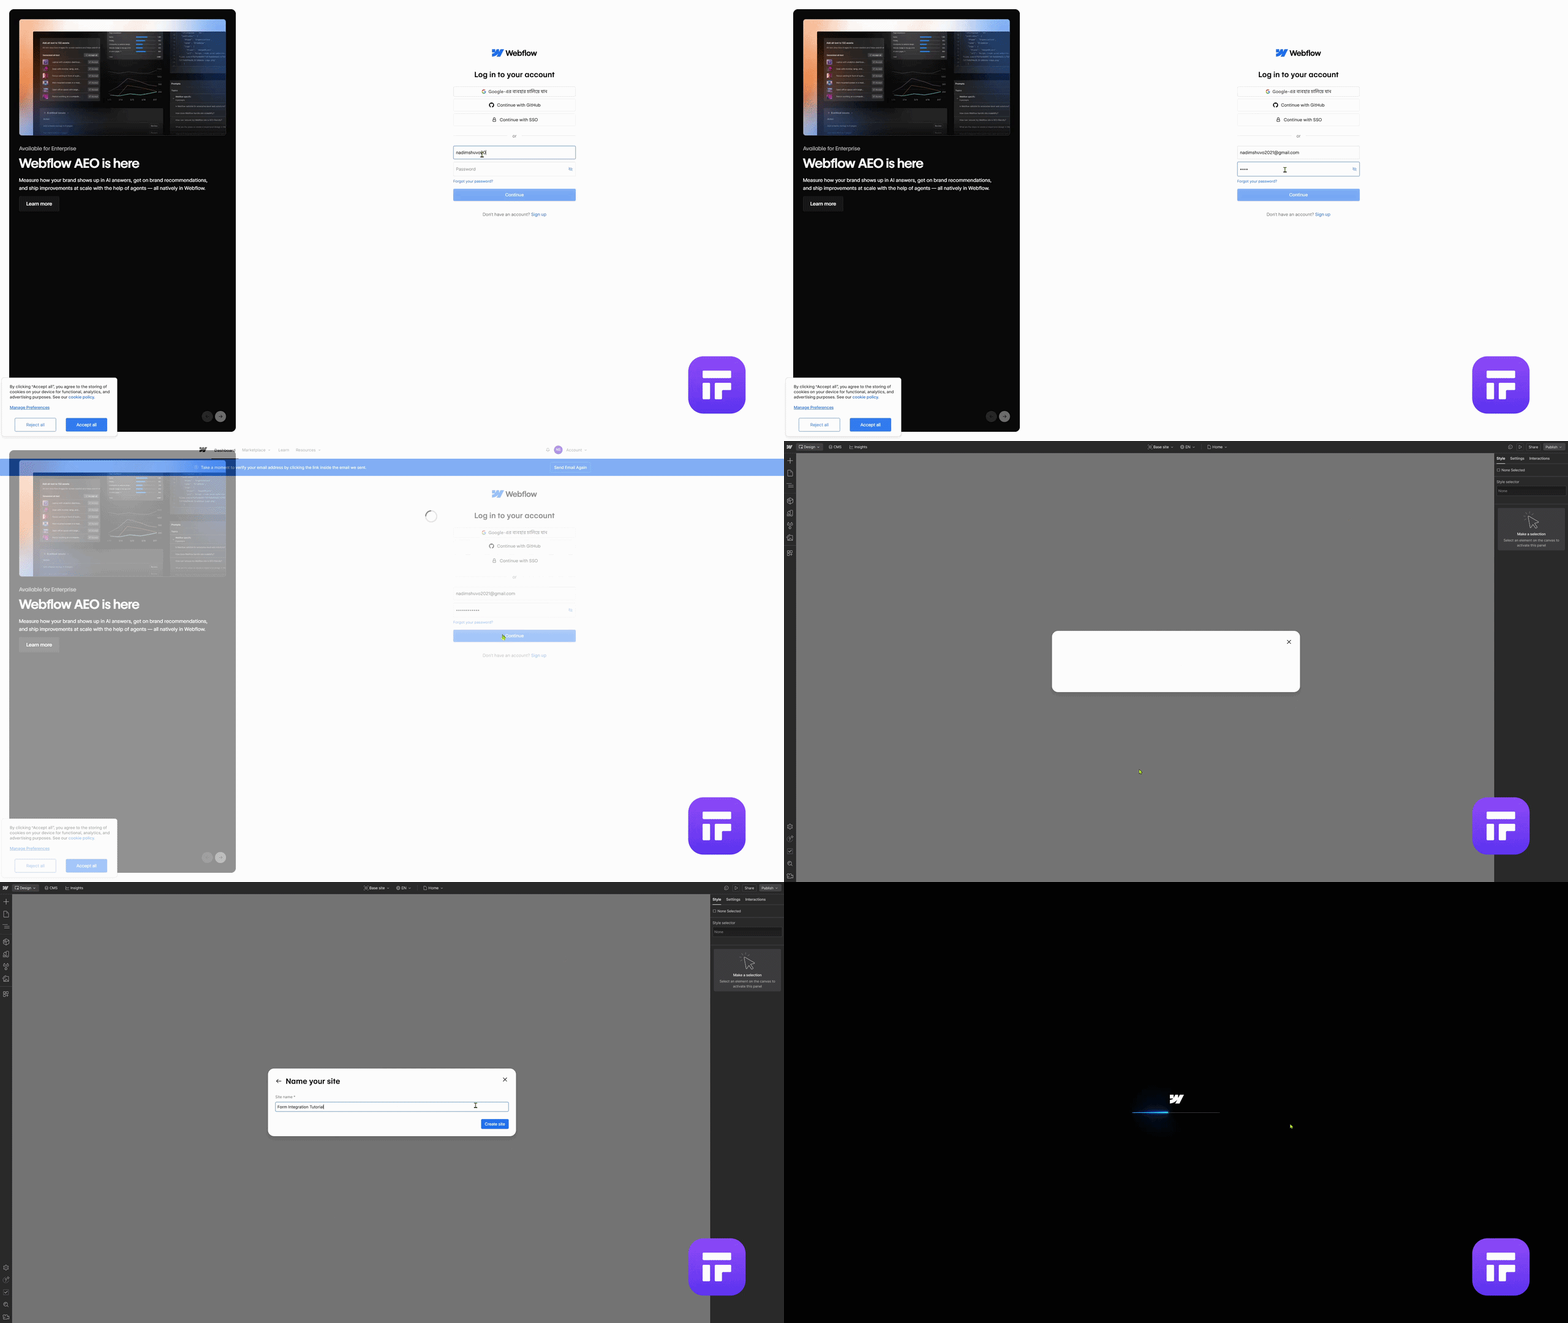
- Inside your new site, create a form and then publish your site.

- Return to our App Dashboard and log in to your account.
- From the Menu items, click on Sites.
- Click on "+ Connect Webflow" again.
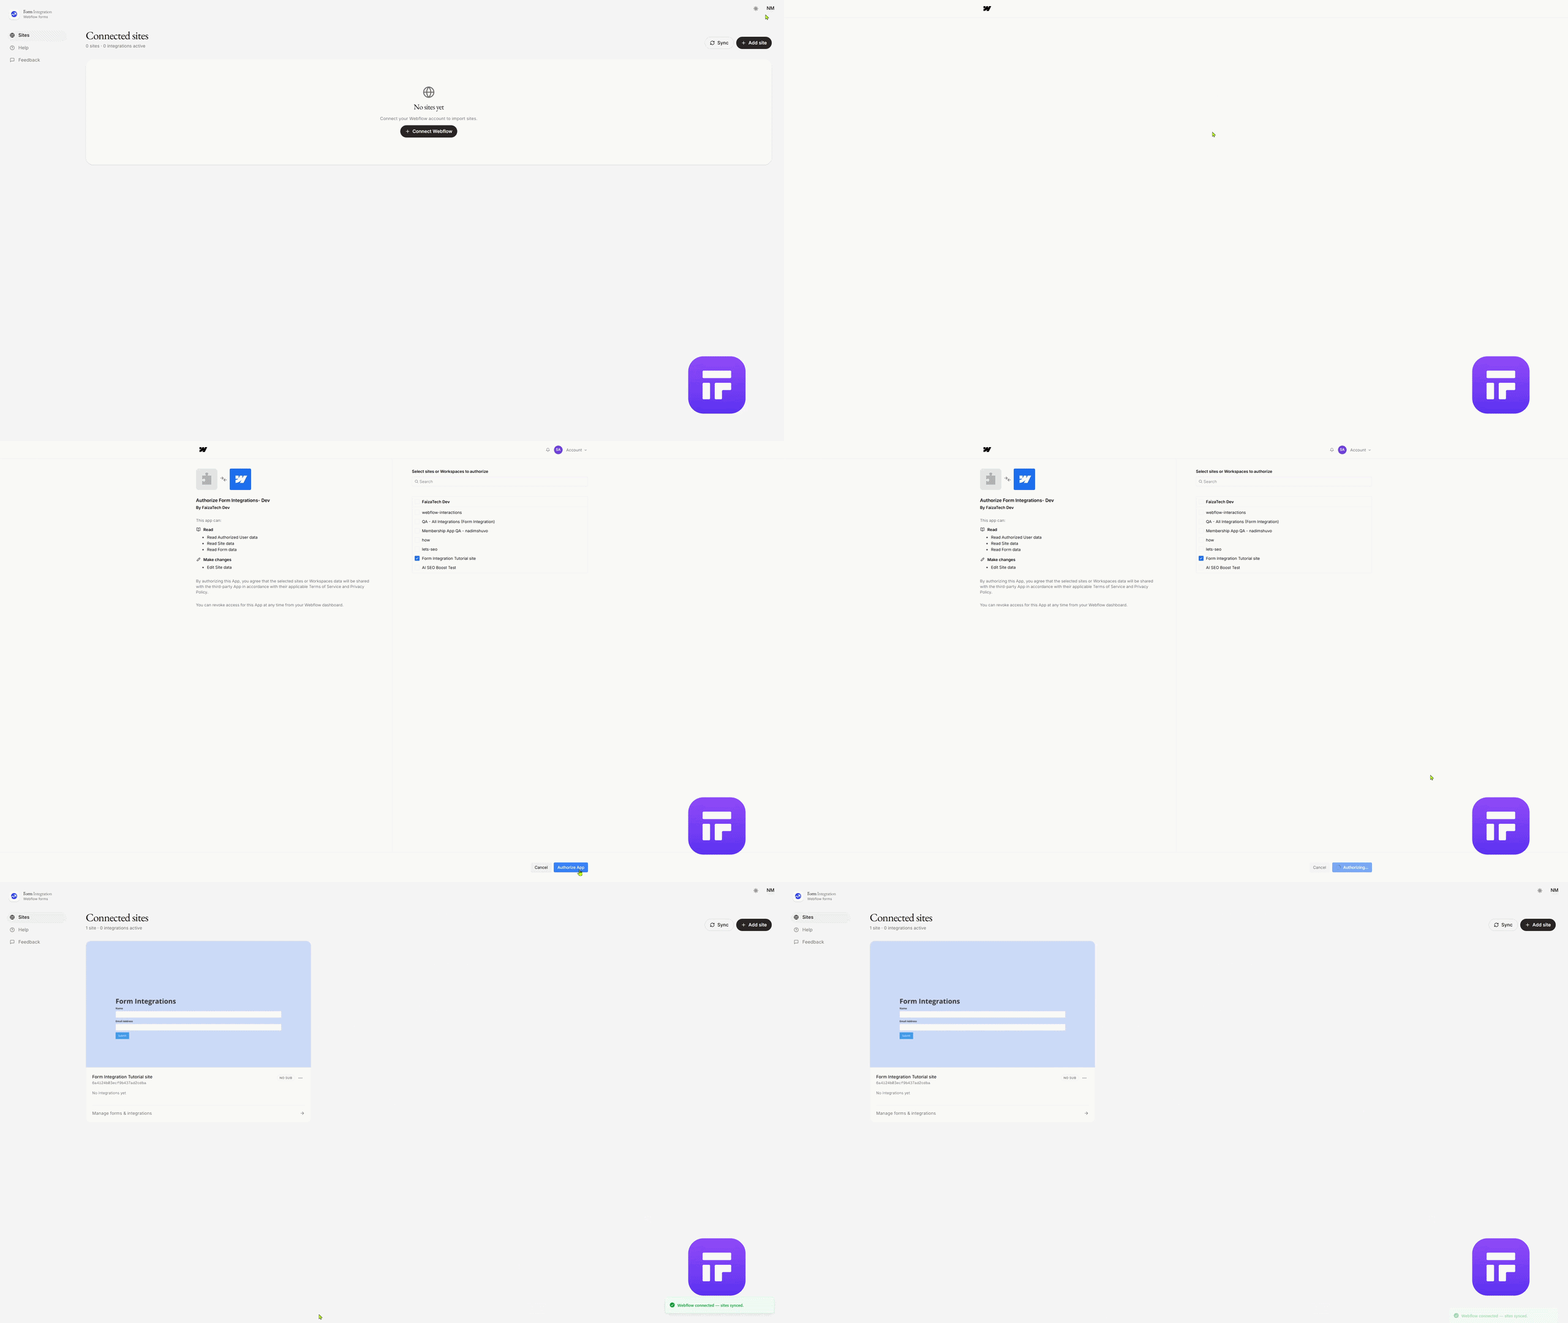
- You will be redirected to Webflow's authorization page, which asks you to choose one site. FormRelay is installed per site; to connect another site later, repeat these steps and pick that one.
- Select your Webflow site, review the four permissions FormRelay asks for (see Webflow Permissions), and click Authorize App.
- You will be redirected back to our App Dashboard, where your Authorized Site will now appear.
Step 3: Subscribe to Enable Form Delivery
To unlock form delivery and integrations, you need to subscribe to a plan.
- In your App Dashboard, go to the Sites menu and click on the Authorized Site you previously connected from Webflow.
- A Subscription Page will open.
- Select your preferred plan:
- Monthly – $4.99
- Yearly – $49.99
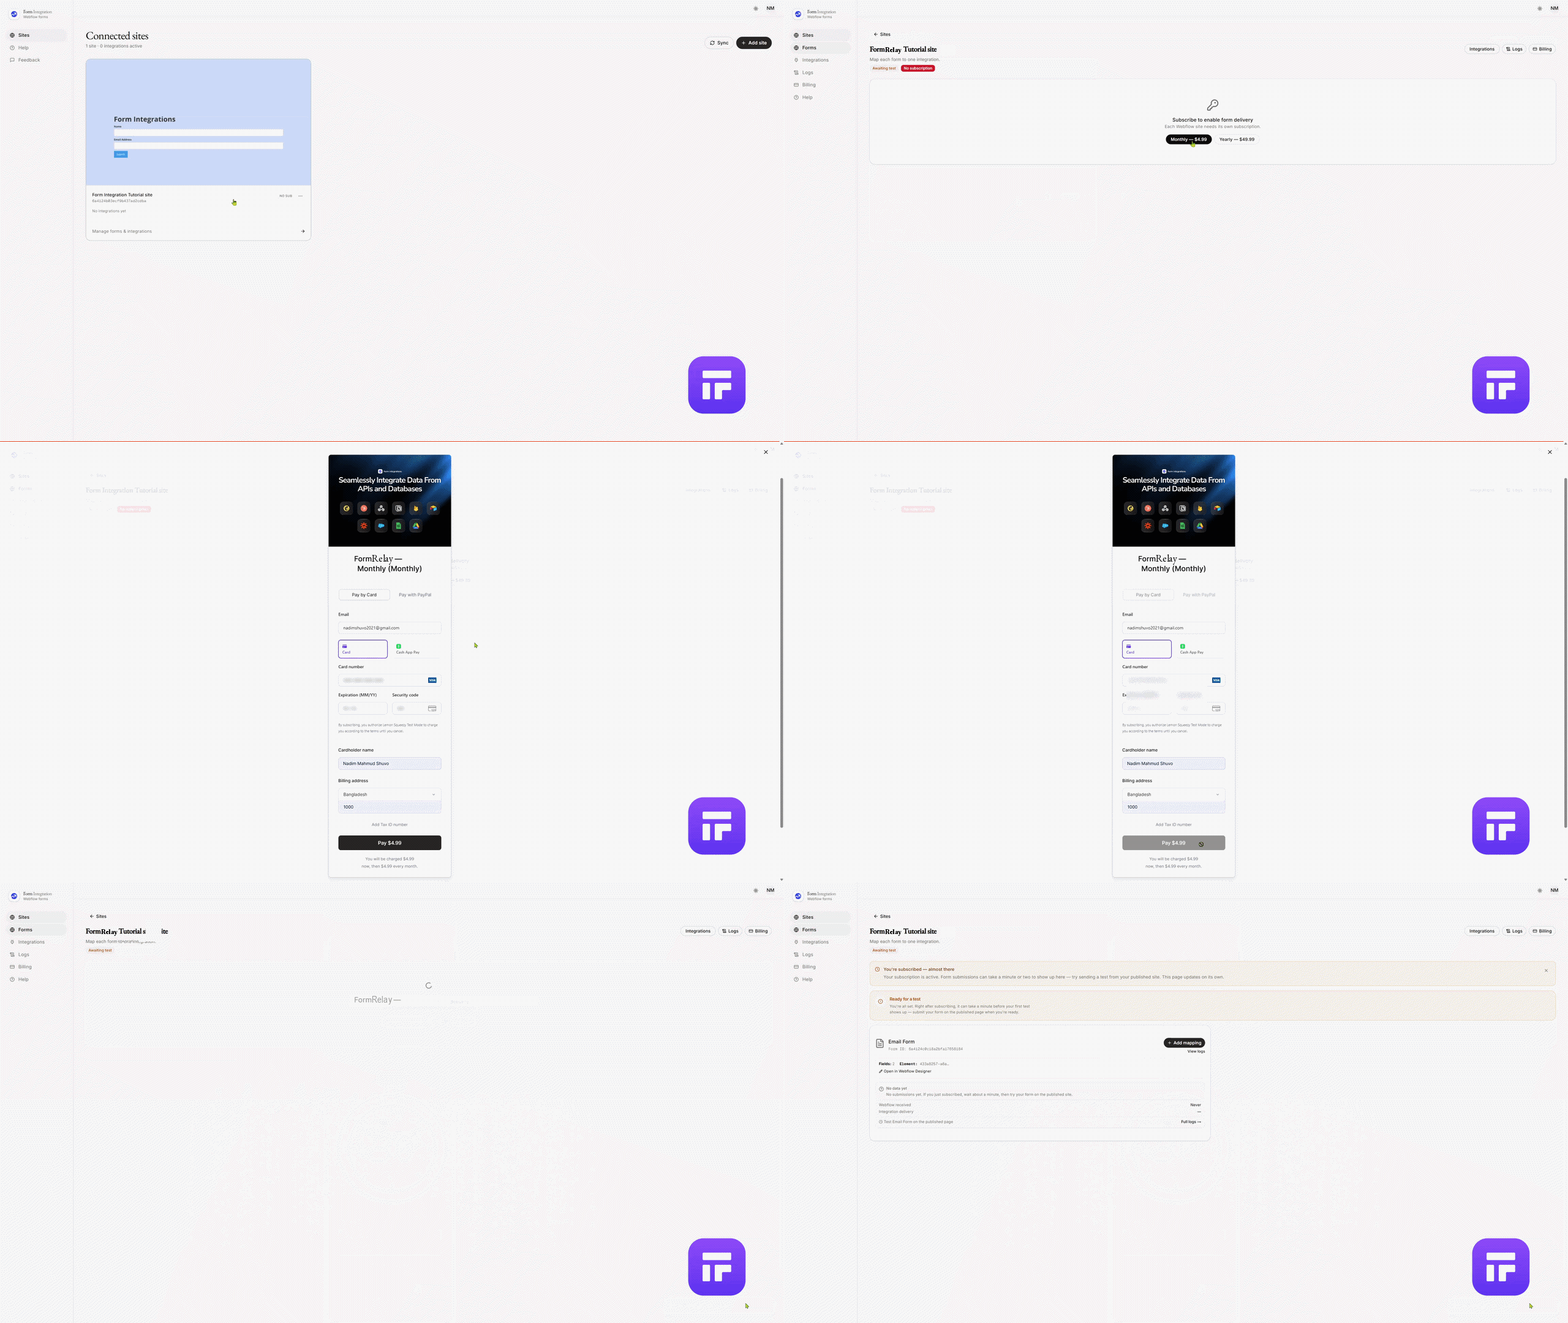
- A Billing Page will open. Add your Card details and proceed with the payment.
(Every plan starts with a 7-day free trial. Your card is taken at checkout but is not charged until the trial ends, and cancelling before then costs nothing. Payments are handled securely by Paddle, our merchant of record.) - Click Pay and wait a few seconds.
- You will be redirected back to our App Dashboard.
- The Forms and Integrations menus will now appear in the left sidebar.
✅ Your subscription is now active, and you can start delivering forms and connecting integrations.
Step 4: Change the Name of a Form
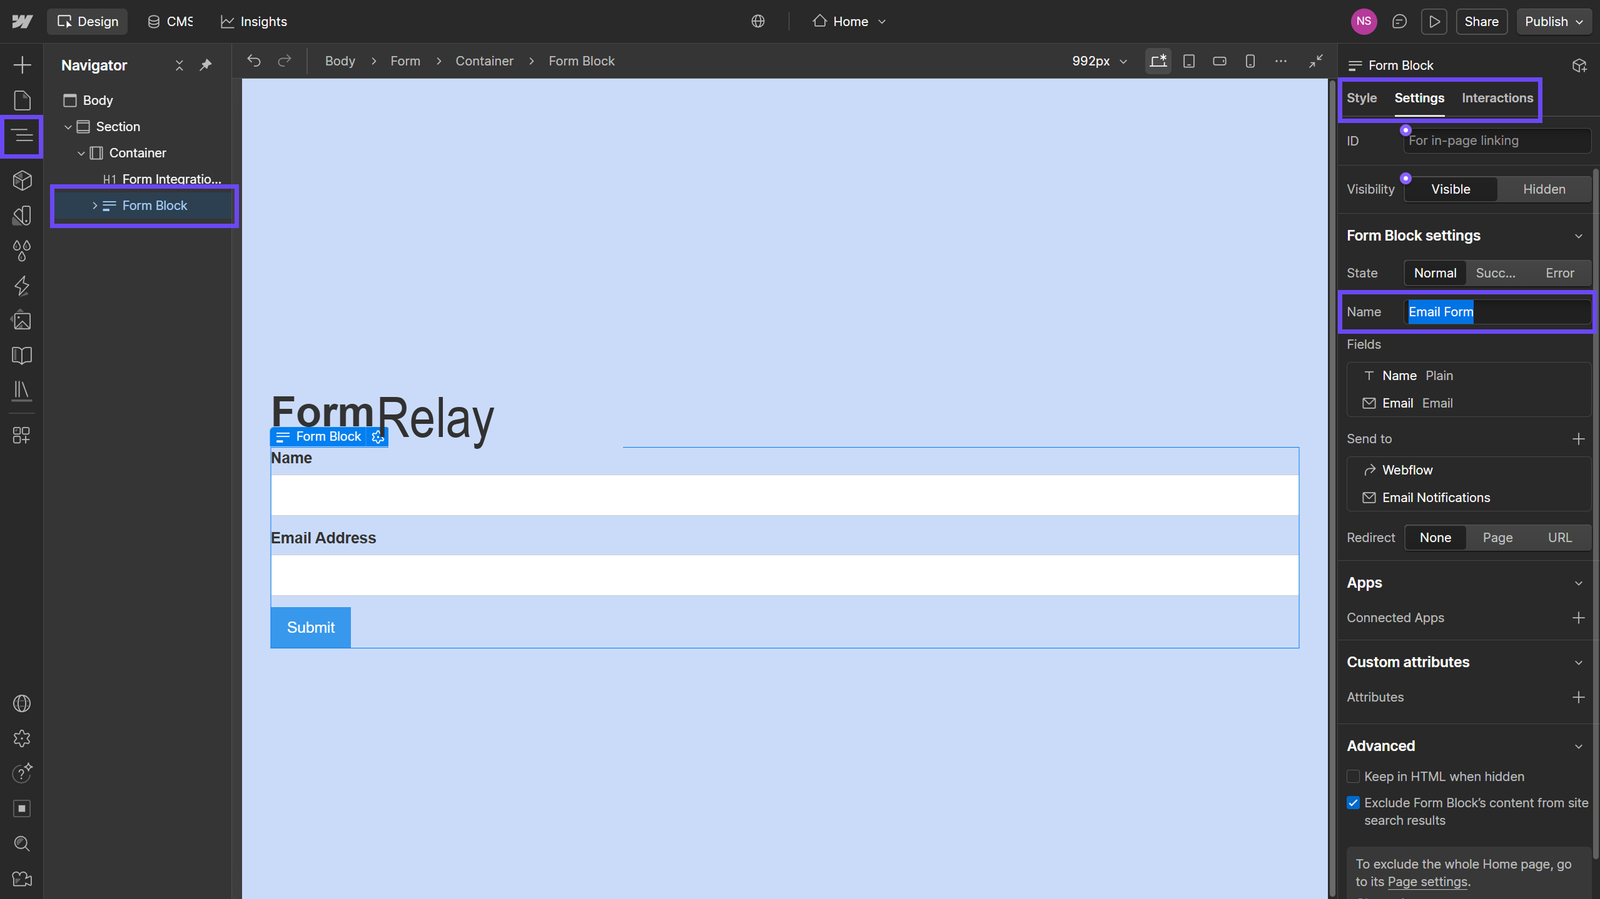
- Open your Webflow Designer.
- In the Navigator Panel (left side), select the Form Block.
- On the right side, open the Settings Panel.
- Under Form Block Settings, change the Name of the form.
- Example: Change “Email Form” to “Airtable Form”.
- Publish your Webflow site to apply the changes.
- Go back to our App Dashboard.
- From the left-hand menu, click on Sites.
- Select your Authorized Site.
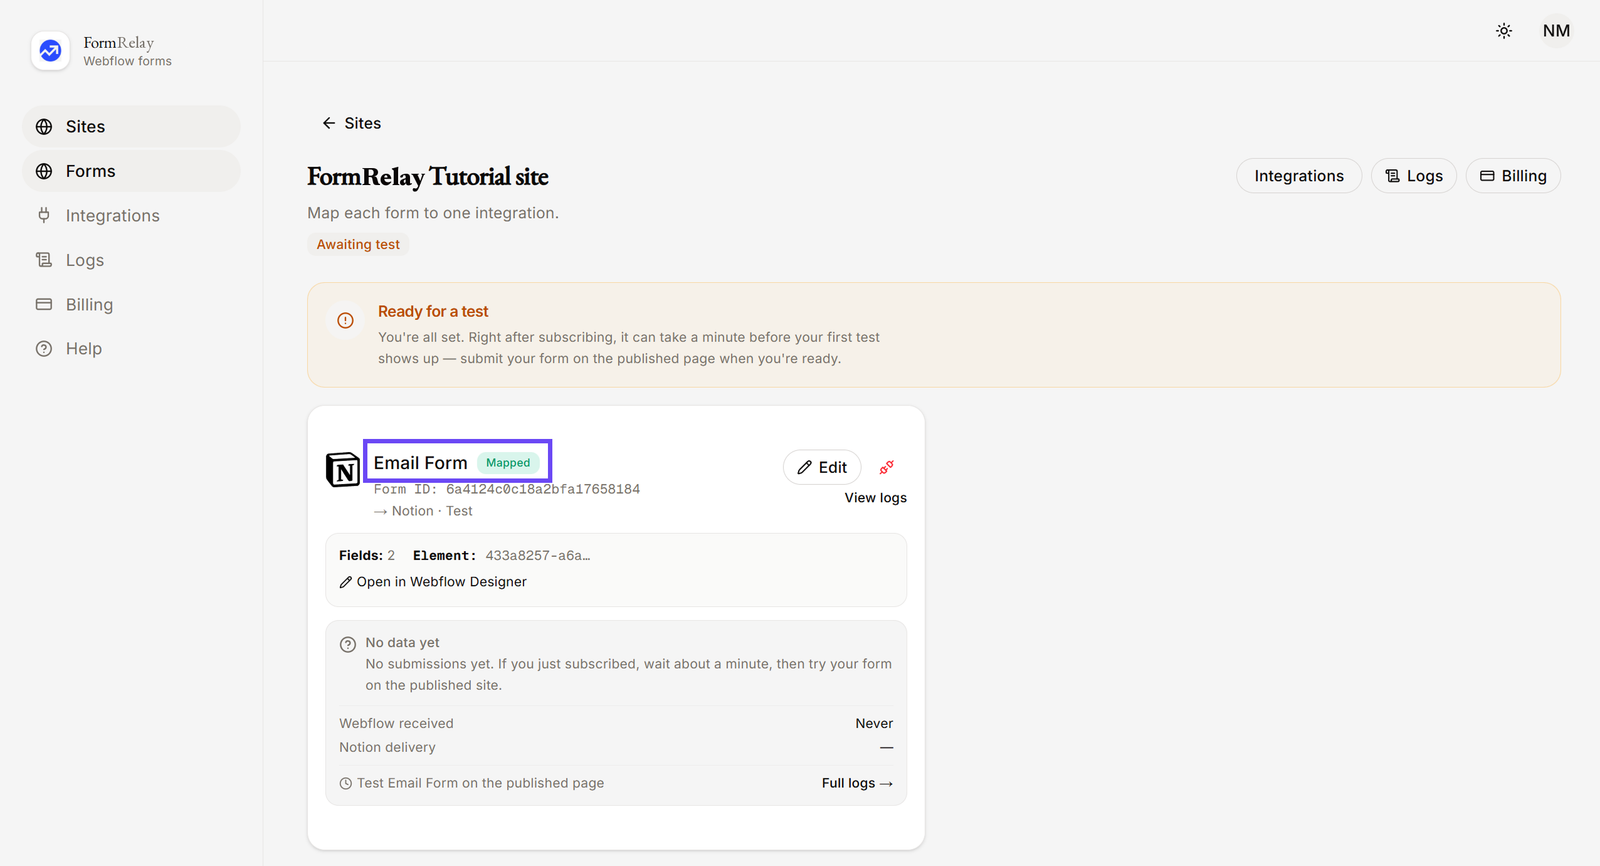
- You will now see the updated form name reflected in the dashboard.
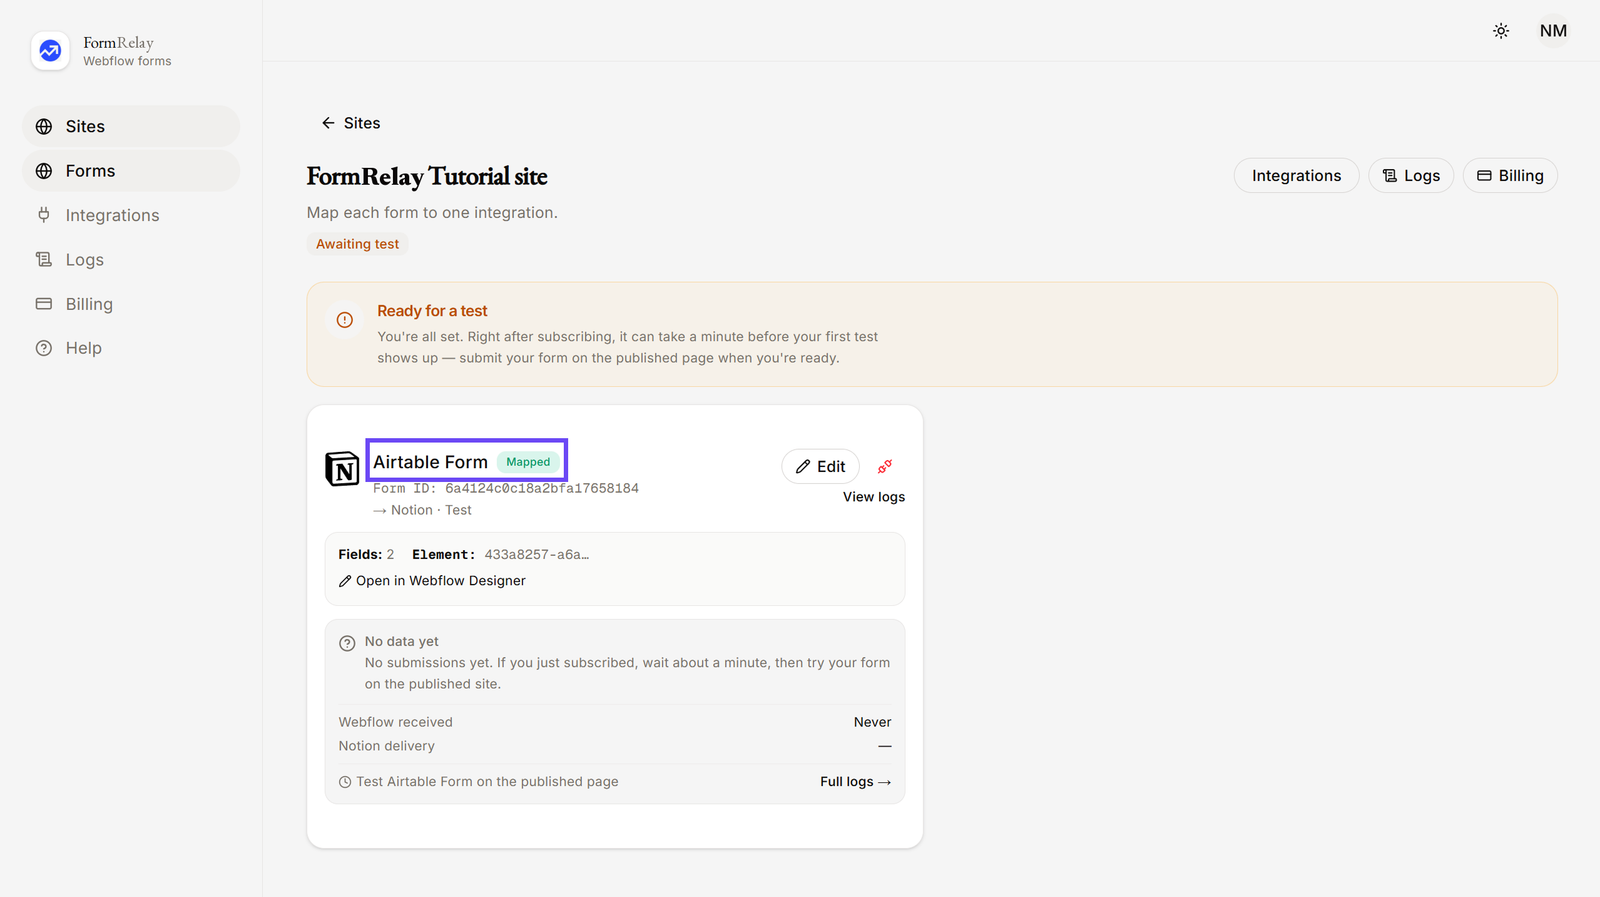
✅ Your form name has been successfully updated and synced with the platform.