
Form Integrations
Installation Steps
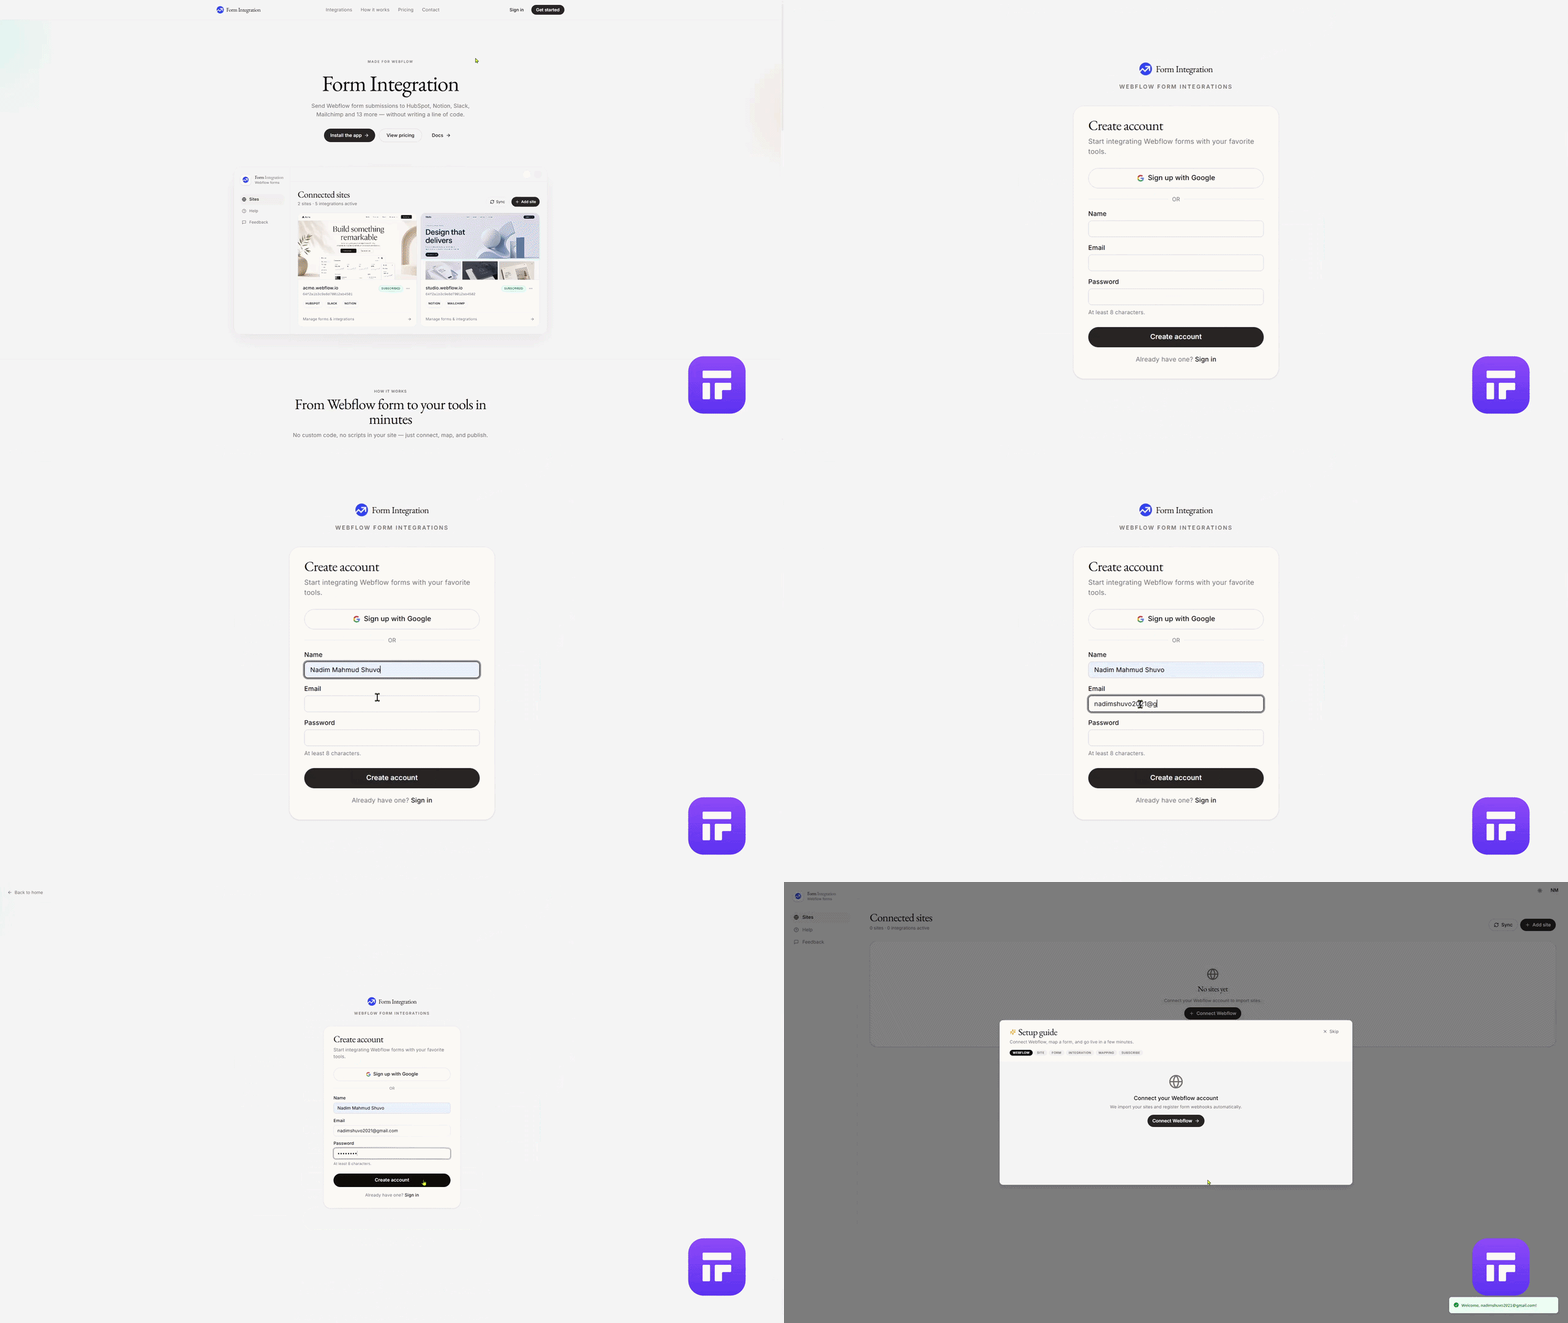
Step 1: Access the Web App Dashboard
- Open your preferred browser.
- Navigate to our official platform link: 🔗 https://form-integrations.faizatech.com/
- If you are a new user, click Get started to register your account.
- If you already have an account, click Sign in to access your existing setup.
Step 2: Connect Your Webflow Site
- In your App Dashboard on Sites menu, click on "+ Connect Webflow".
- You will be redirected to the Webflow login page:
- If you already have a Webflow account, sign in.
- If you don’t have an account, sign up for free.
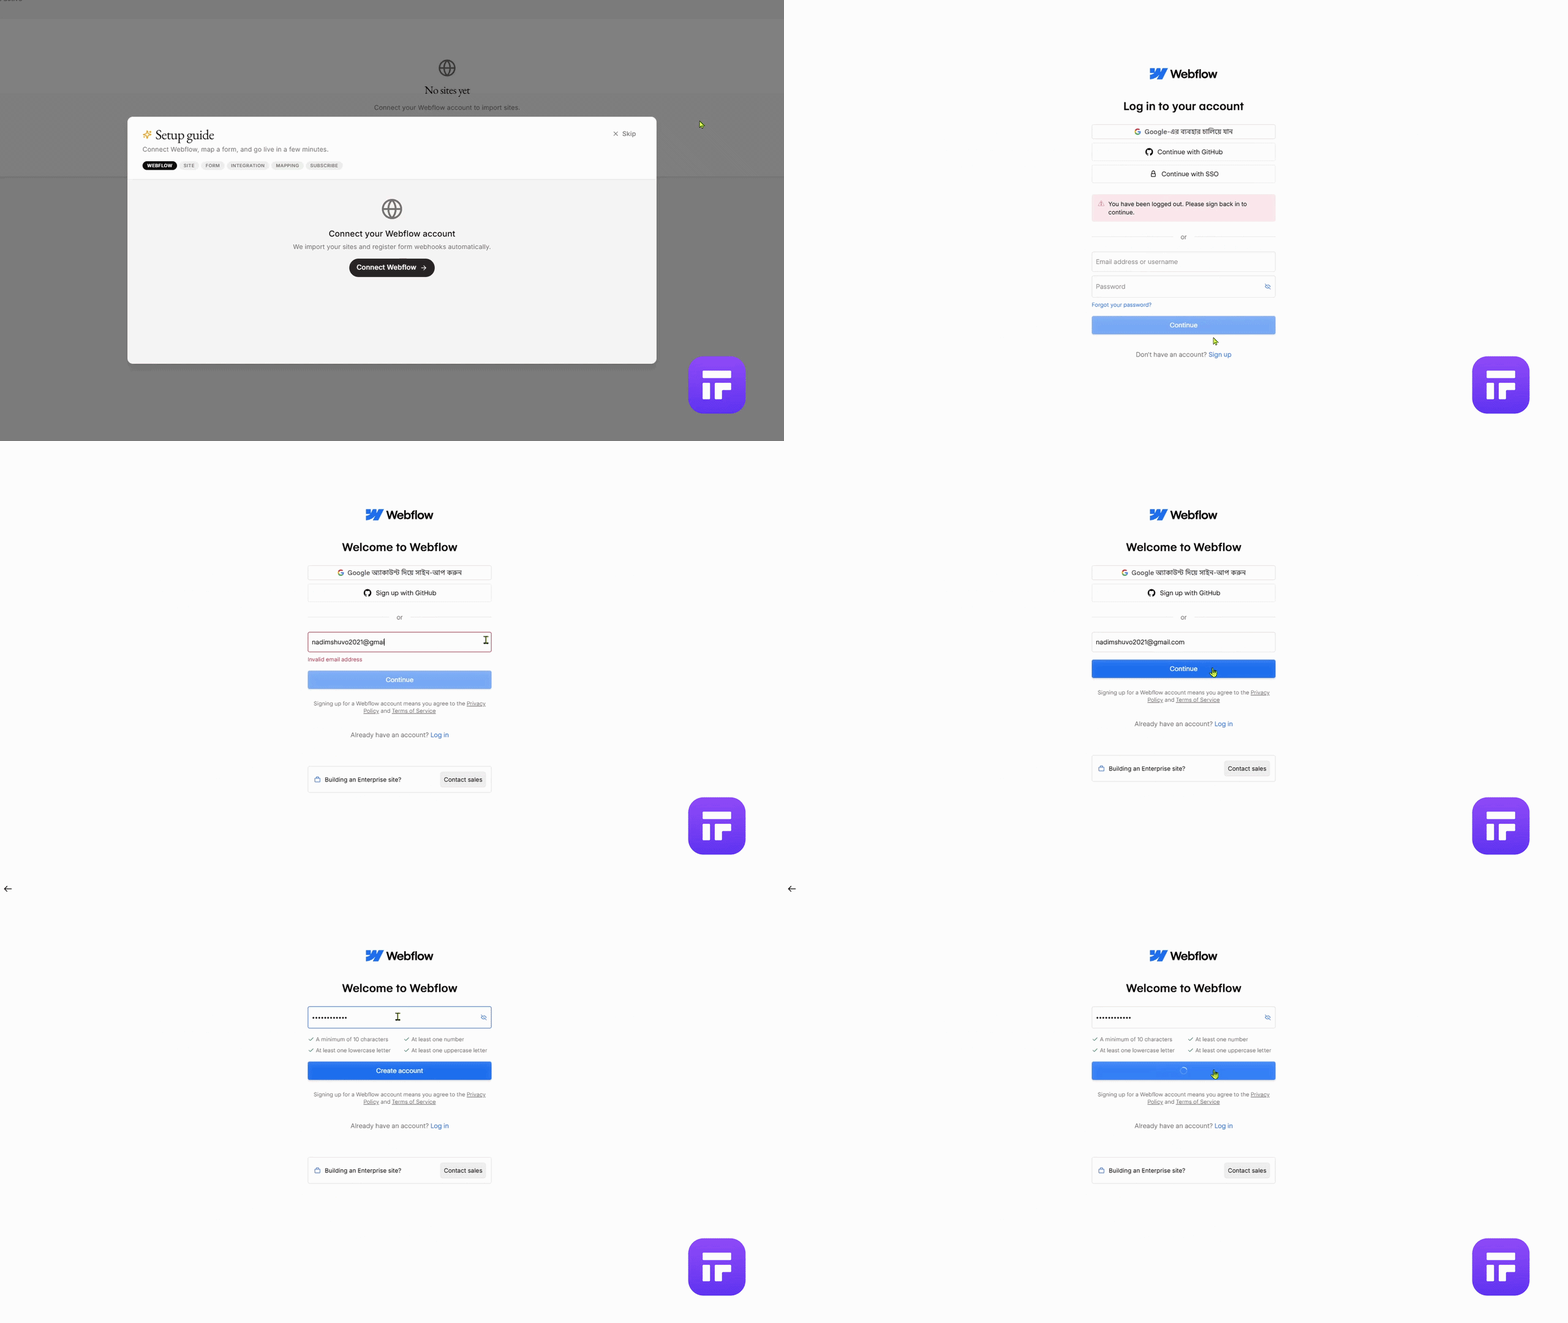
- After signing in, create a new site in Webflow.
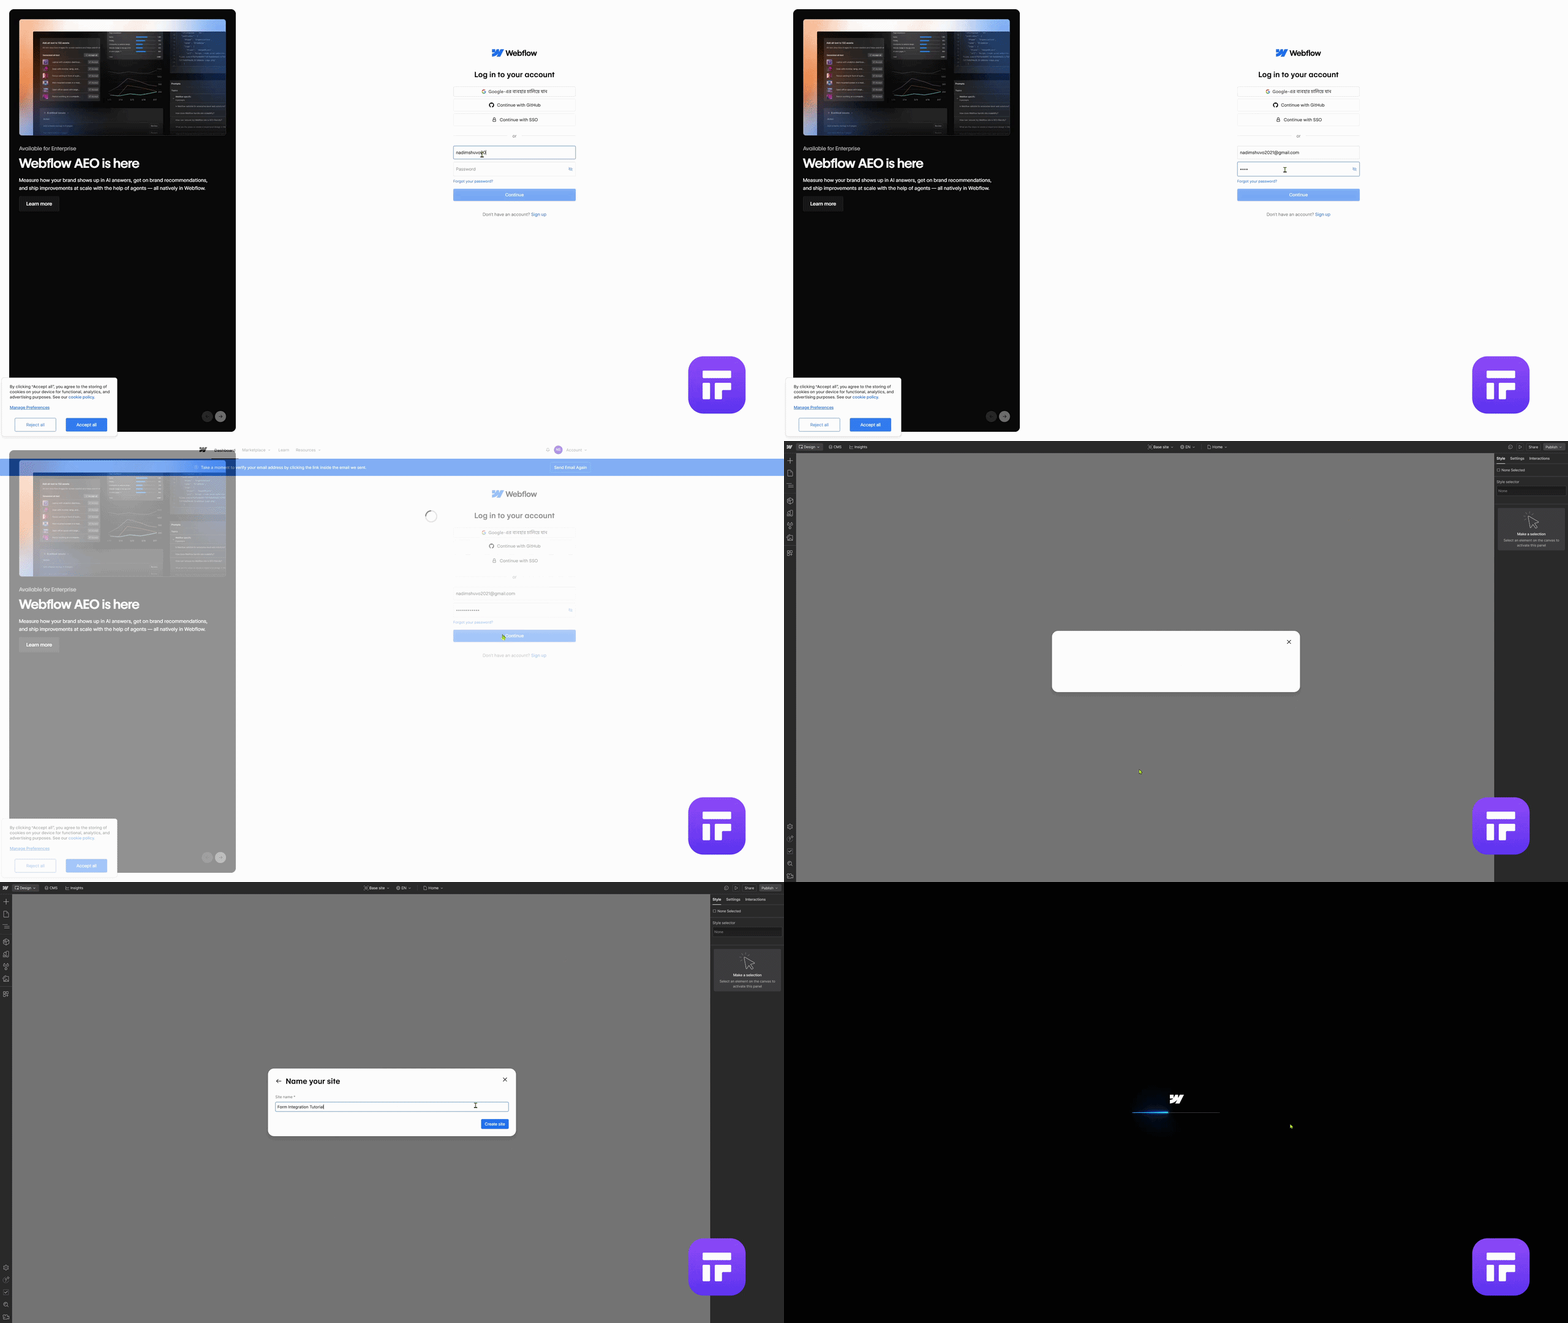
- Inside your new site, create a form and then publish your site.

- Return to our App Dashboard and log in to your account.
- From the Menu items, click on Sites.
- Click on "+ Connect Webflow" again.
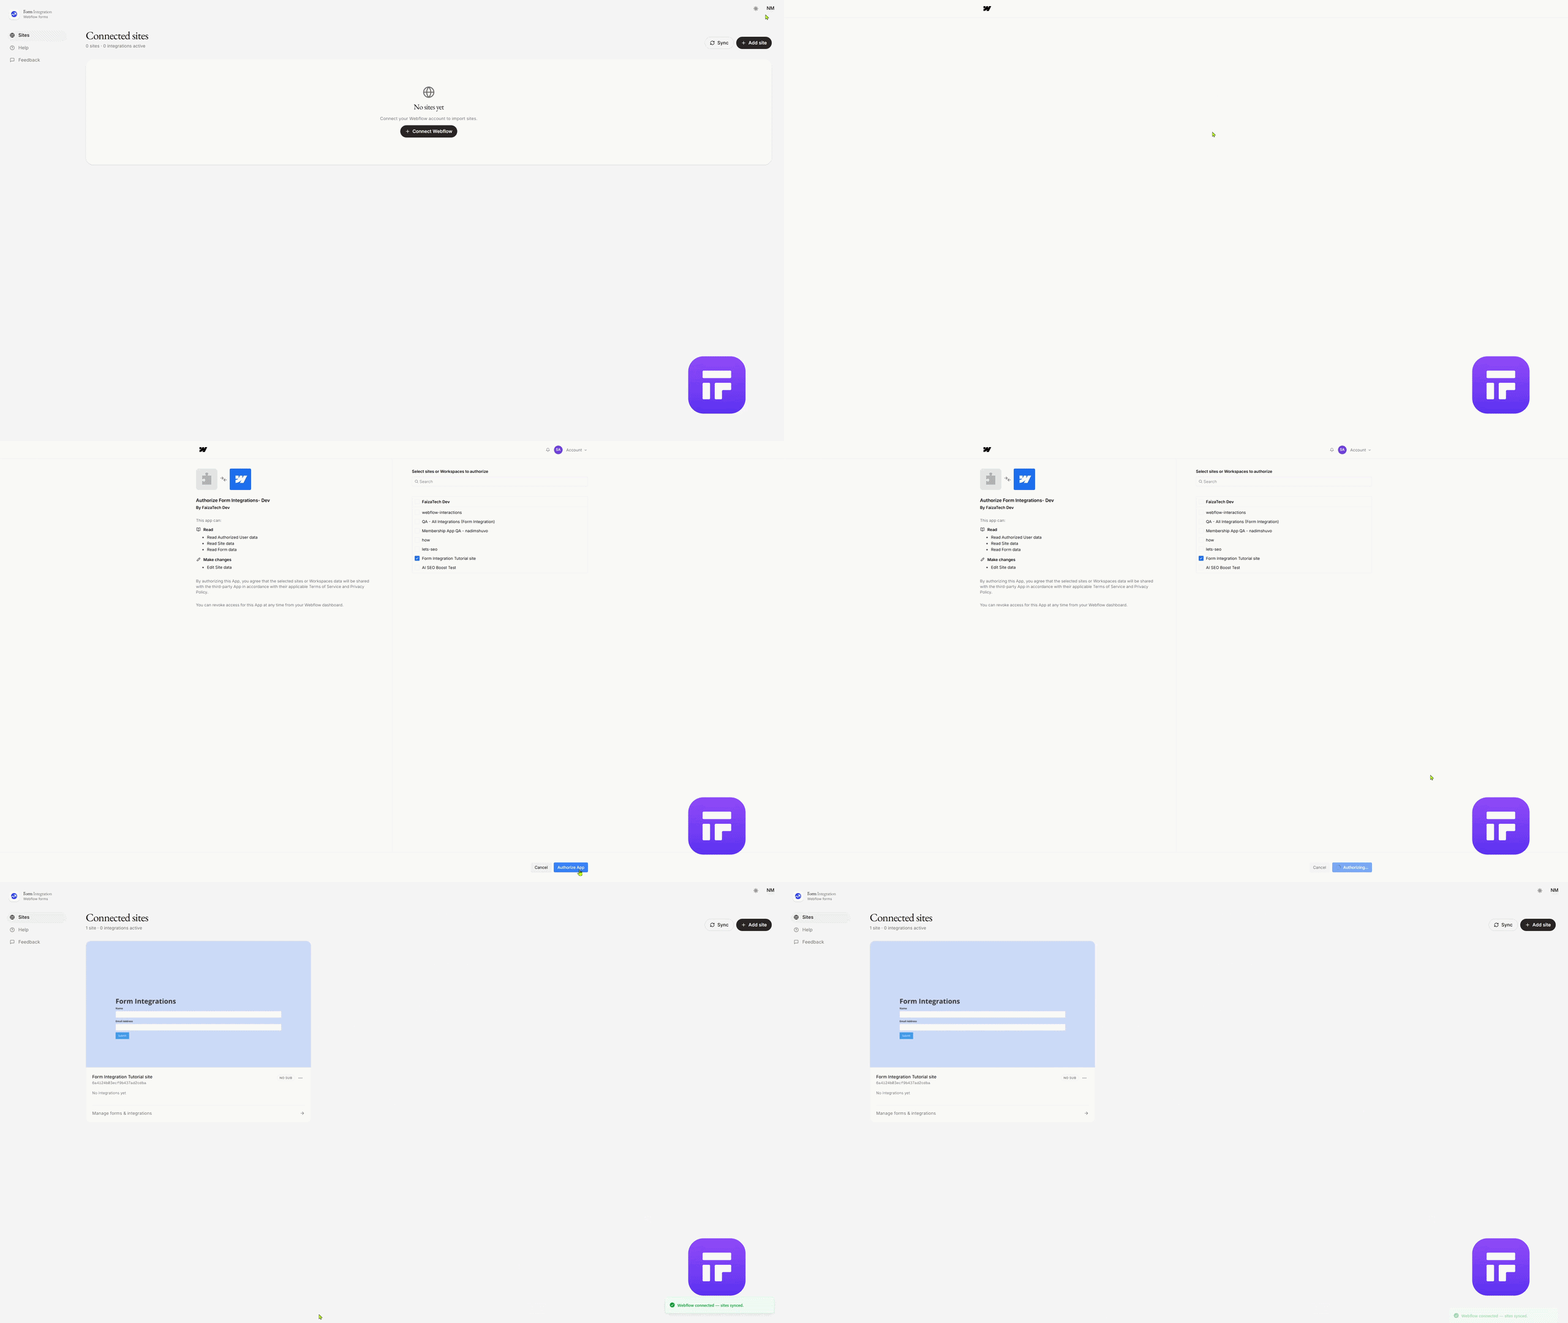
- You will be redirected to a Webflow page titled “Select Sites or Workspaces to Authorize”.
- Select your Webflow site and click Authorize App.
- You will be redirected back to our App Dashboard, where your Authorized Site will now appear.
Step 3: Subscribe to Enable Form Delivery
To unlock form delivery and integrations, you need to subscribe to a plan.
- In your App Dashboard, go to the Sites menu and click on the Authorized Site you previously connected from Webflow.
- A Subscription Page will open.
- Select your preferred plan:
- Monthly – $4.99
- Yearly – $49.99
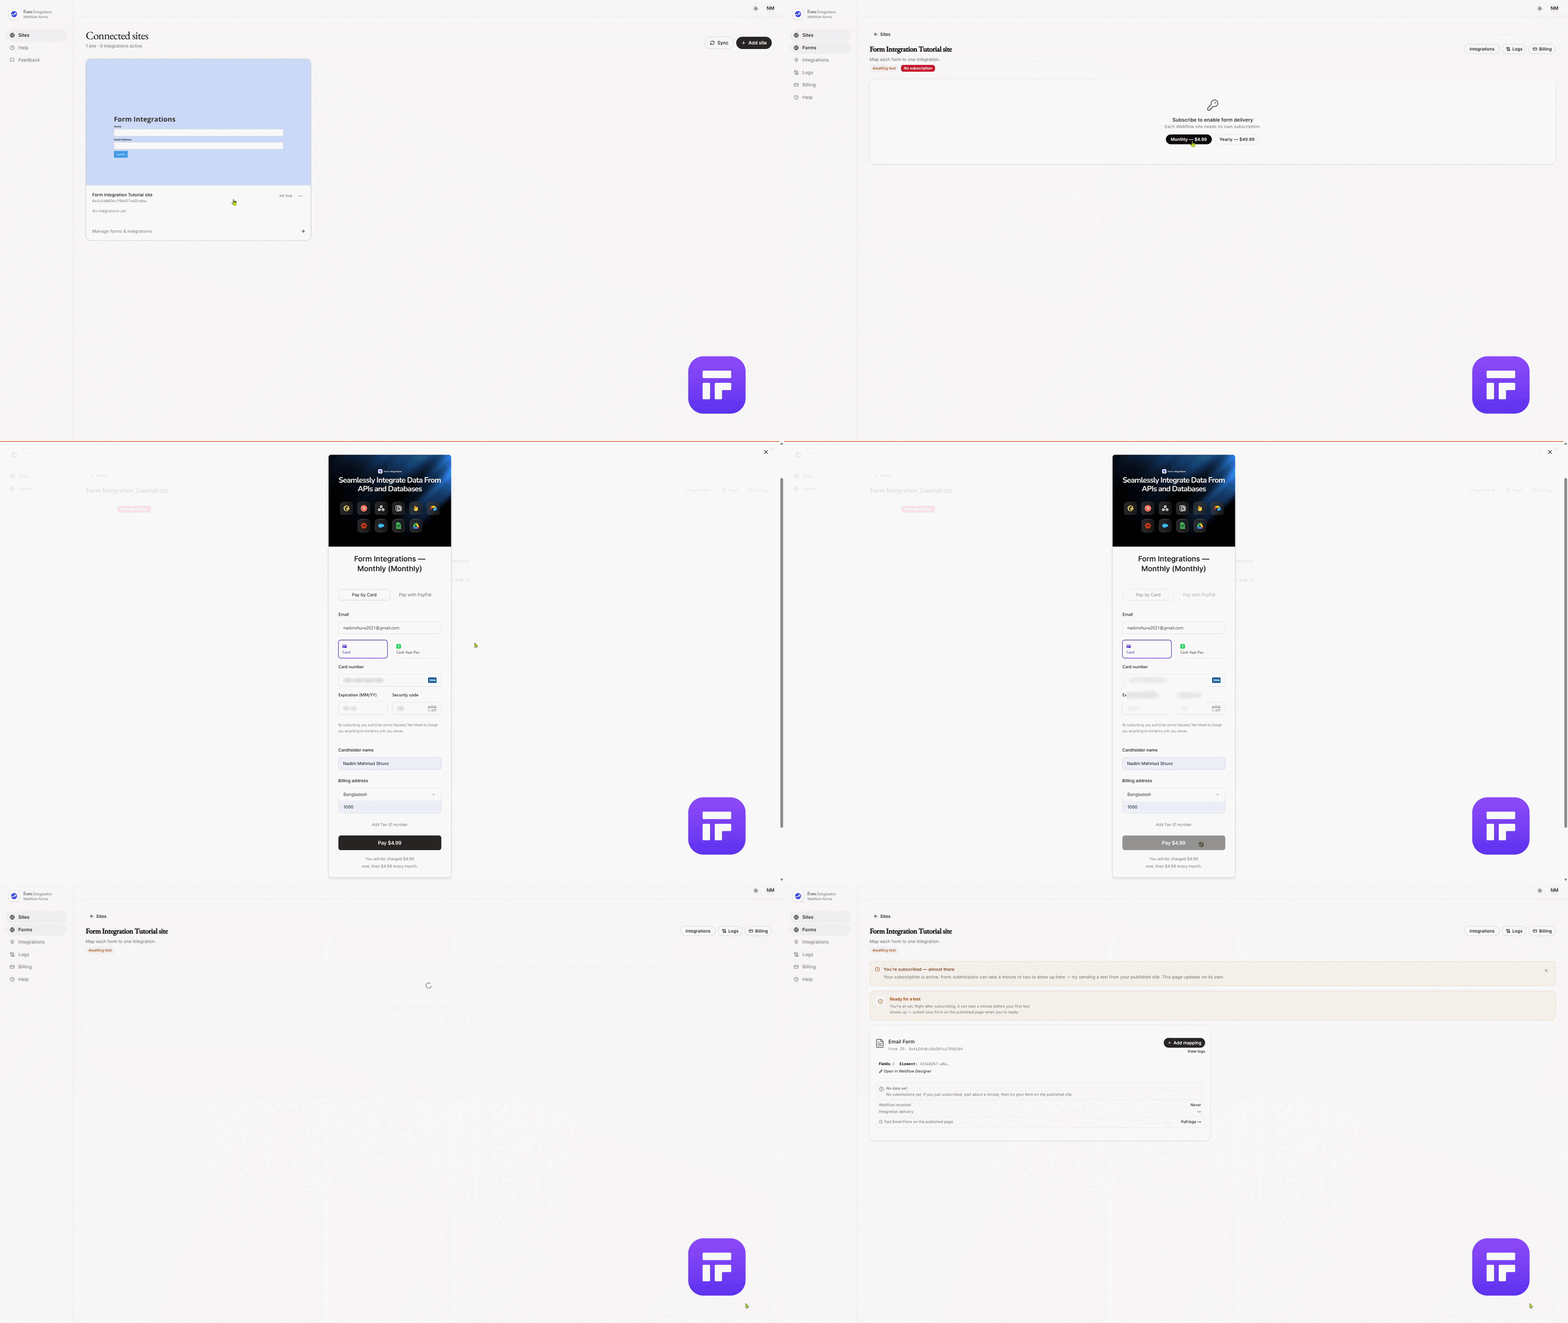
- A Billing Page will open. Add your Card details and proceed with the payment.
(We use Lemon Squeezy for secure payments.) - Click Pay and wait a few seconds.
- You will be redirected back to our App Dashboard.
- The Forms and Integrations menus will now appear in the left sidebar.
✅ Your subscription is now active, and you can start delivering forms and connecting integrations.
Step 4: Change the Name of a Form
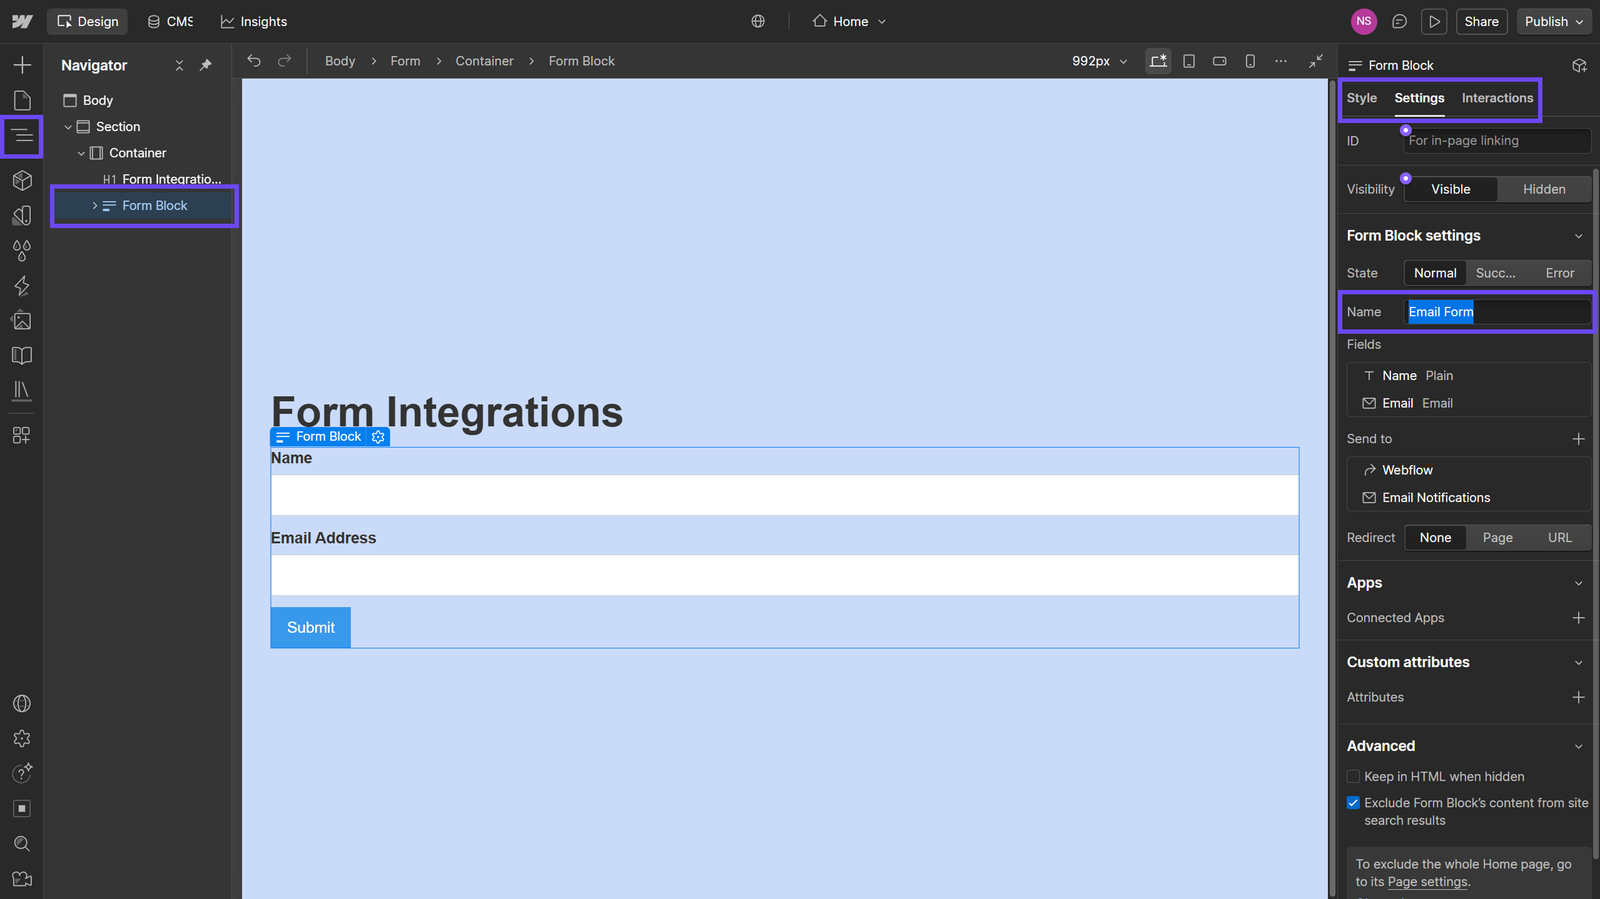
- Open your Webflow Designer.
- In the Navigator Panel (left side), select the Form Block.
- On the right side, open the Settings Panel.
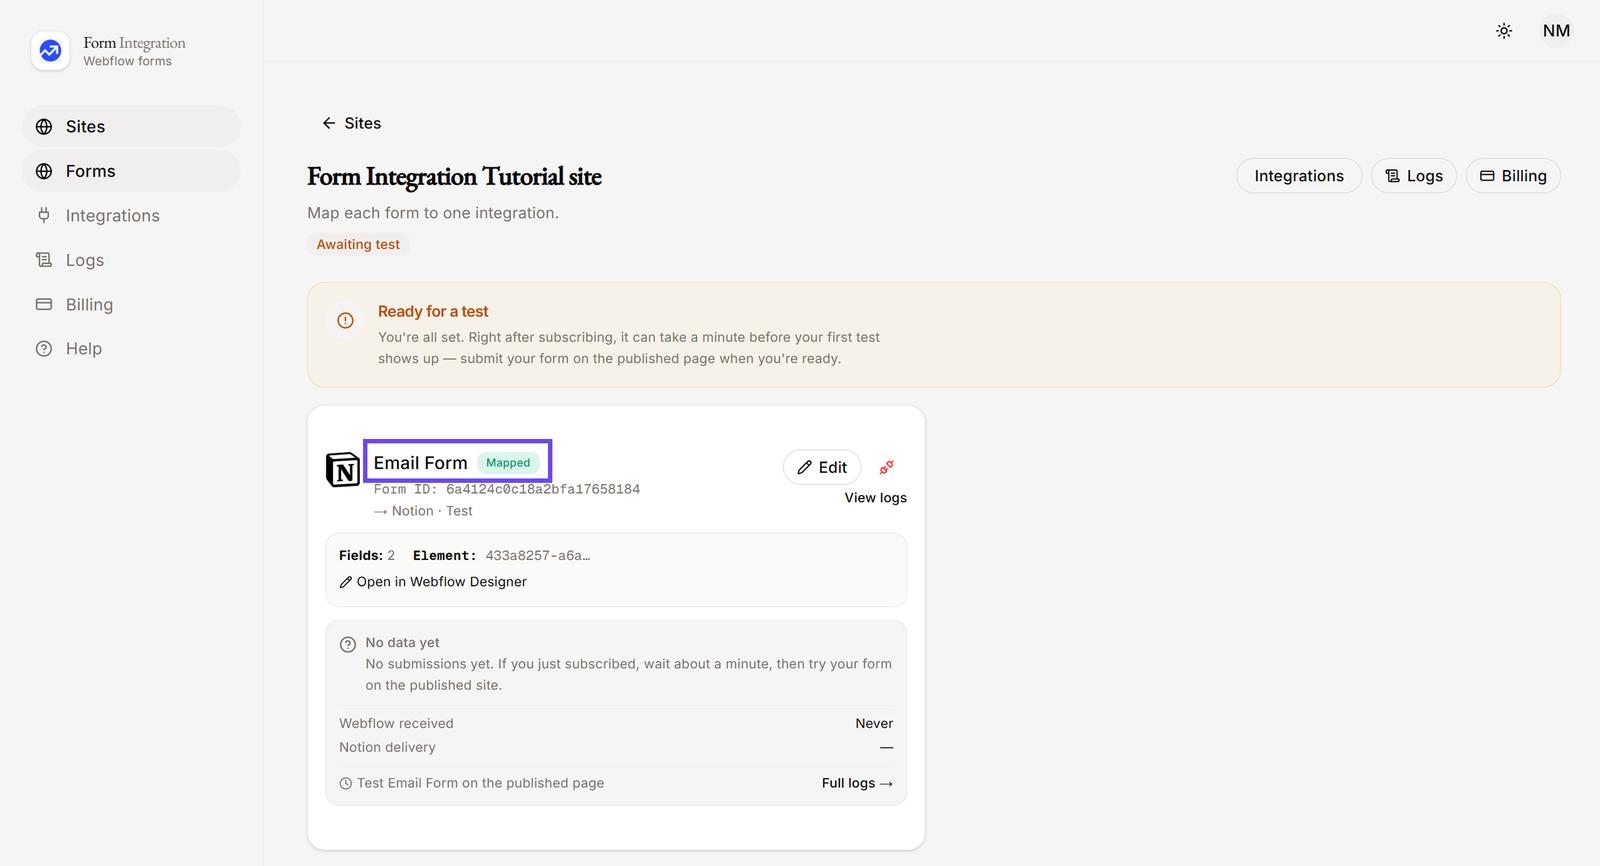
- Under Form Block Settings, change the Name of the form.
- Example: Change “Email Form” to “Airtable Form”.
- Publish your Webflow site to apply the changes.
- Go back to our App Dashboard.
- From the left-hand menu, click on Sites.
- Select your Authorized Site.
- You will now see the updated form name reflected in the dashboard.
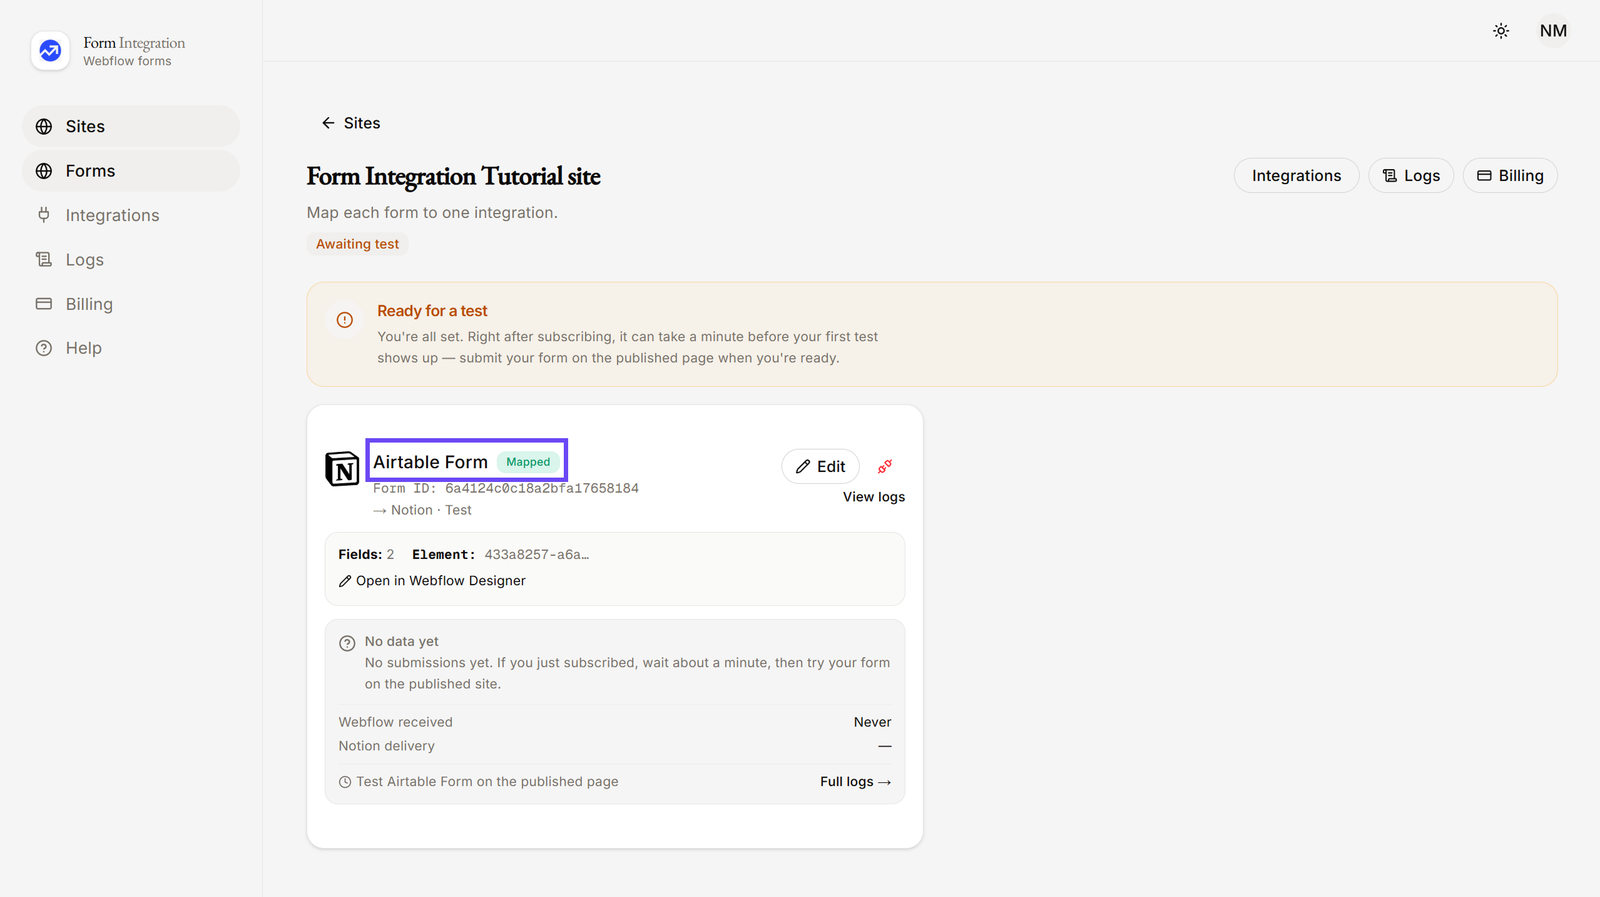
✅ Your form name has been successfully updated and synced with the platform.